How to Train a Consistent AI Character
Keep the same character across new outfits, poses, and locations. Start with one reference, curate a varied photo set, and train a LoRA.
The quick answer
Good photos matter most
Start with one photo. Generate 50–200 variations, choose the best 20–30, and train a character LoRA. Keep the face consistent while exploring attractive expressions, poses, outfits, and locations. These counts are a starting point, not a proven optimum.
Train your characterWhat “consistent” means
Your character should remain recognizable as expressions, outfits, lighting, and camera angles change.
A character LoRA teaches the generator your character’s appearance from a carefully chosen photo set.
1. Choose one clear reference
Choose a sharp photo that defines the face and appearance. Compare every candidate with this reference.
Starting from scratch? Read Training an AI Character from Scratch for the video workflow from a description to 20 training photos.
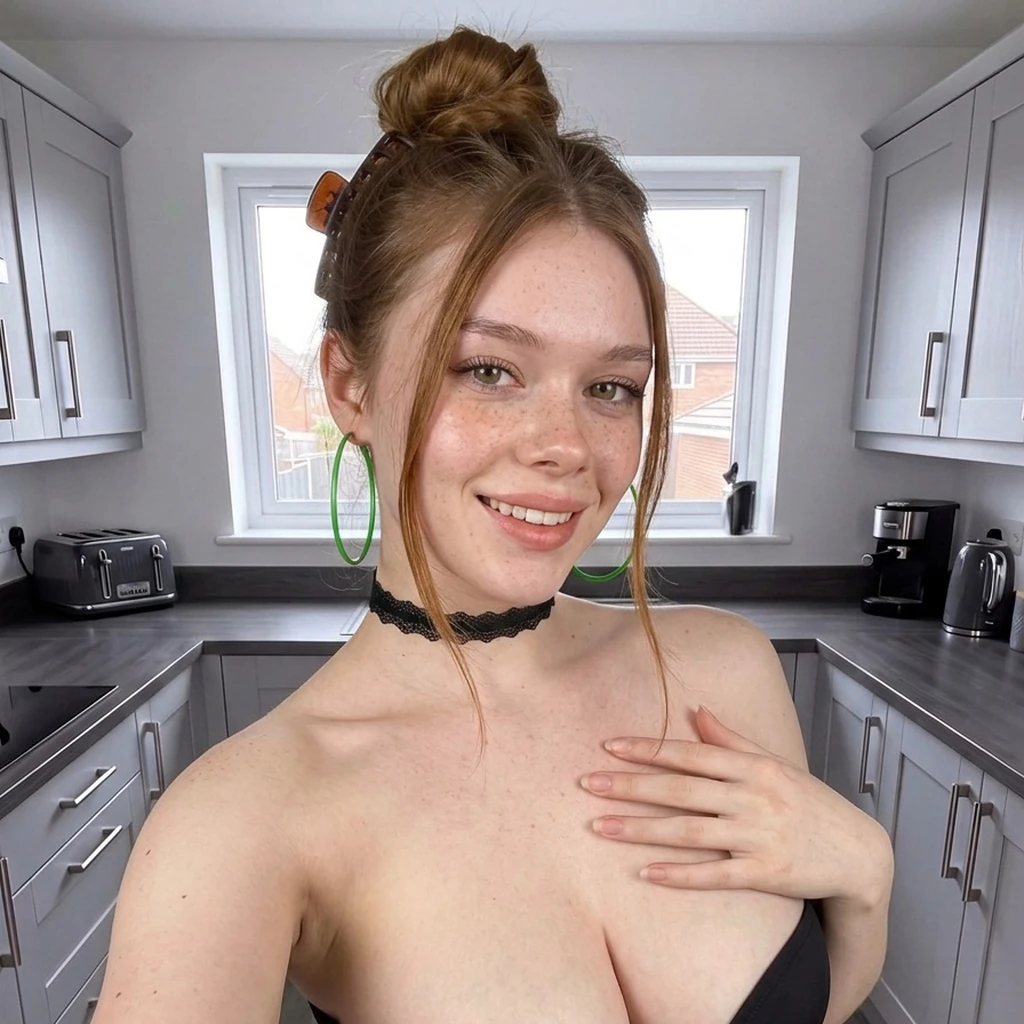
- The face is clear and in focus.
- The lighting makes facial details easy to judge.
- No hands, hair, glasses, or objects hide important features.
- The photo represents the character you want to keep.
Use real-person photos only with permission. For an invented character, keep one identity throughout the set.
2. Generate 50–200. Keep the best 20–30.
Use your reference with Remix.Camera templates. Generate 50 candidates and expand toward 200 if you need more variety. Reuse the original reference to limit identity drift.
Prefer video? our Maren workflow with Remix.Camera’s H3 Spicy produced 20 photos from two clips. Save one sharp frame per scene, then review identity before training.
Keep 20–30 strong photos. Mix smiles, confident looks, playful expressions, and candid laughs with seated, standing, angled, and full-body poses. Every photo should clearly show the same person.
Include
- close-ups and wider photos
- front, angled, and side views
- different expressions and hairstyles
- different outfits and backgrounds
- daylight, indoor light, and some flash or night photos
Remove
- photos where the face looks like someone else
- duplicates and near-duplicates
- blurred faces or heavy filters
- broken hands, eyes, reflections, or body proportions
- photos dominated by the same pose, outfit, or room
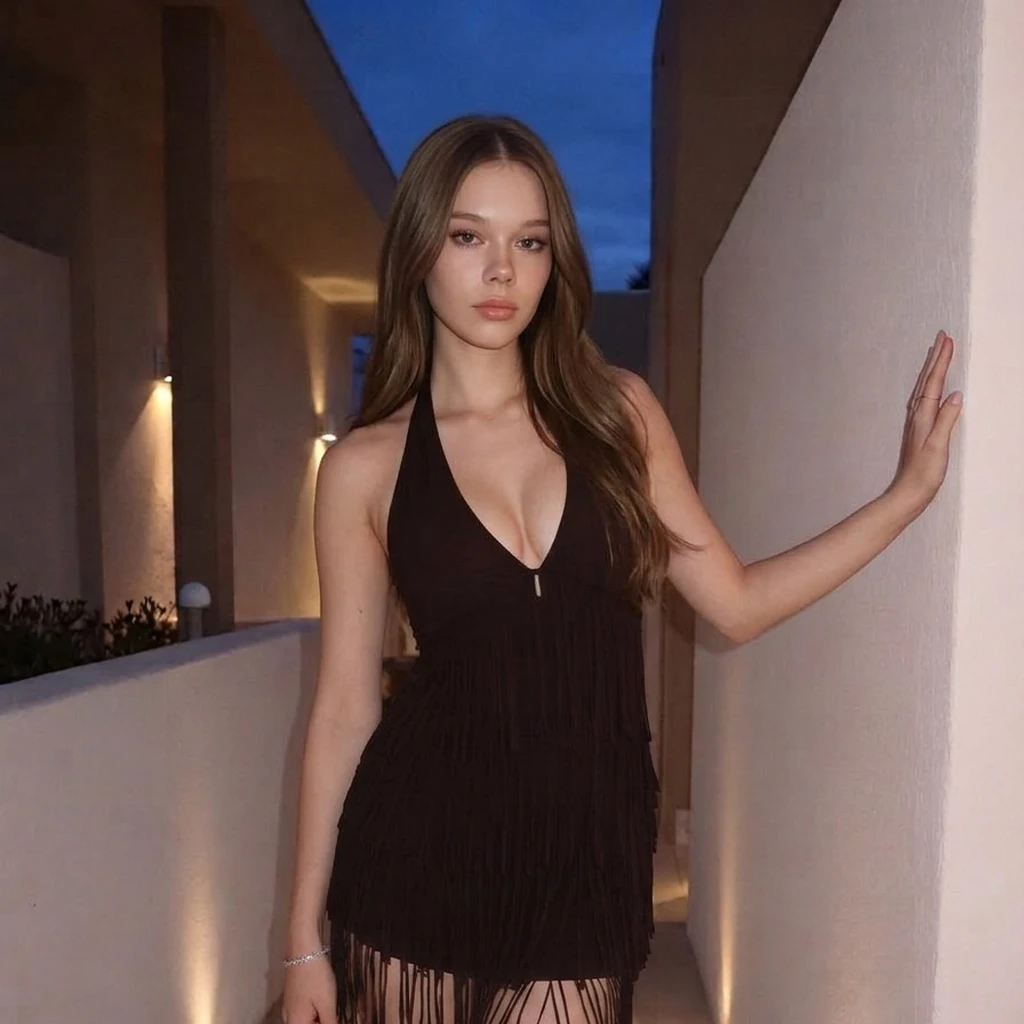
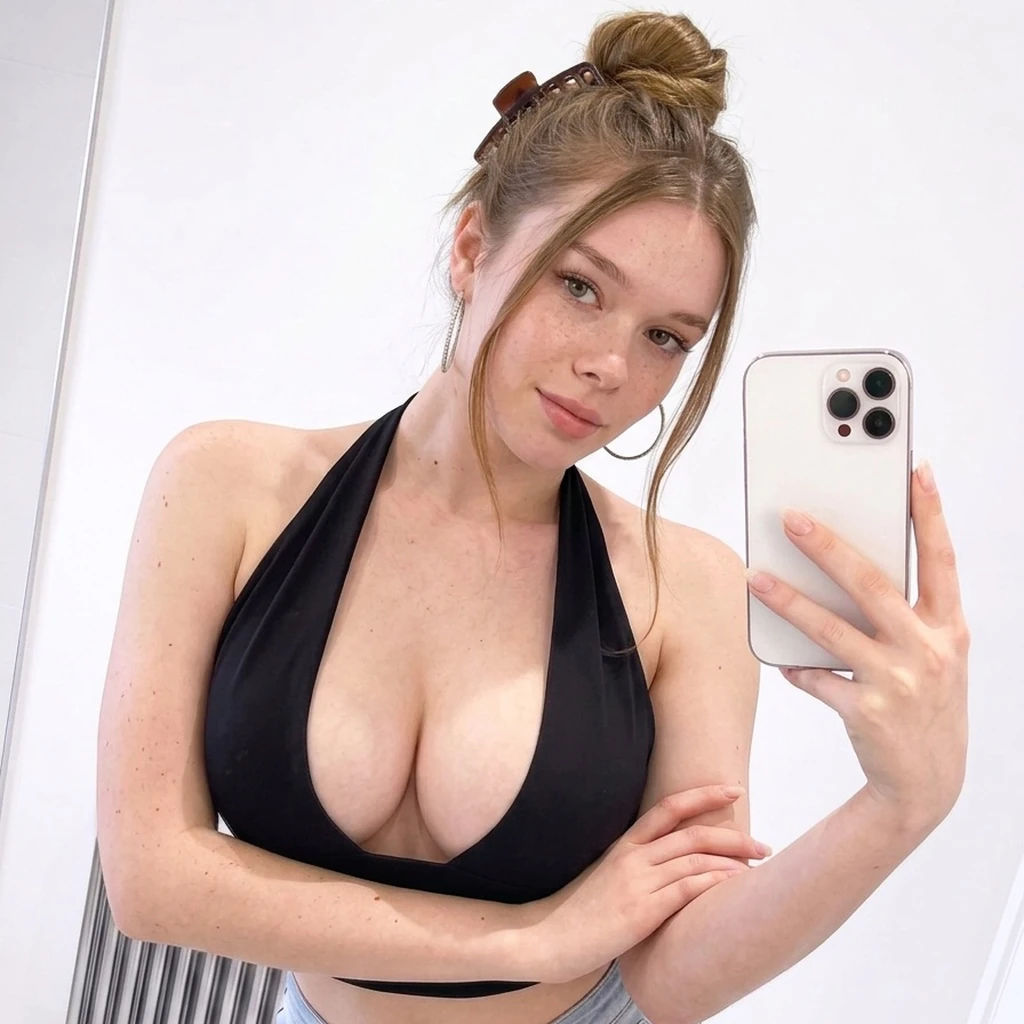
Mila’s set contained 26 generated photos and one primary reference. That does not establish an ideal count. Quality matters more than quantity.
3. Review what the trainer will see
Review the final uploaded crops. Reject crops that cut off the face or remove important features.
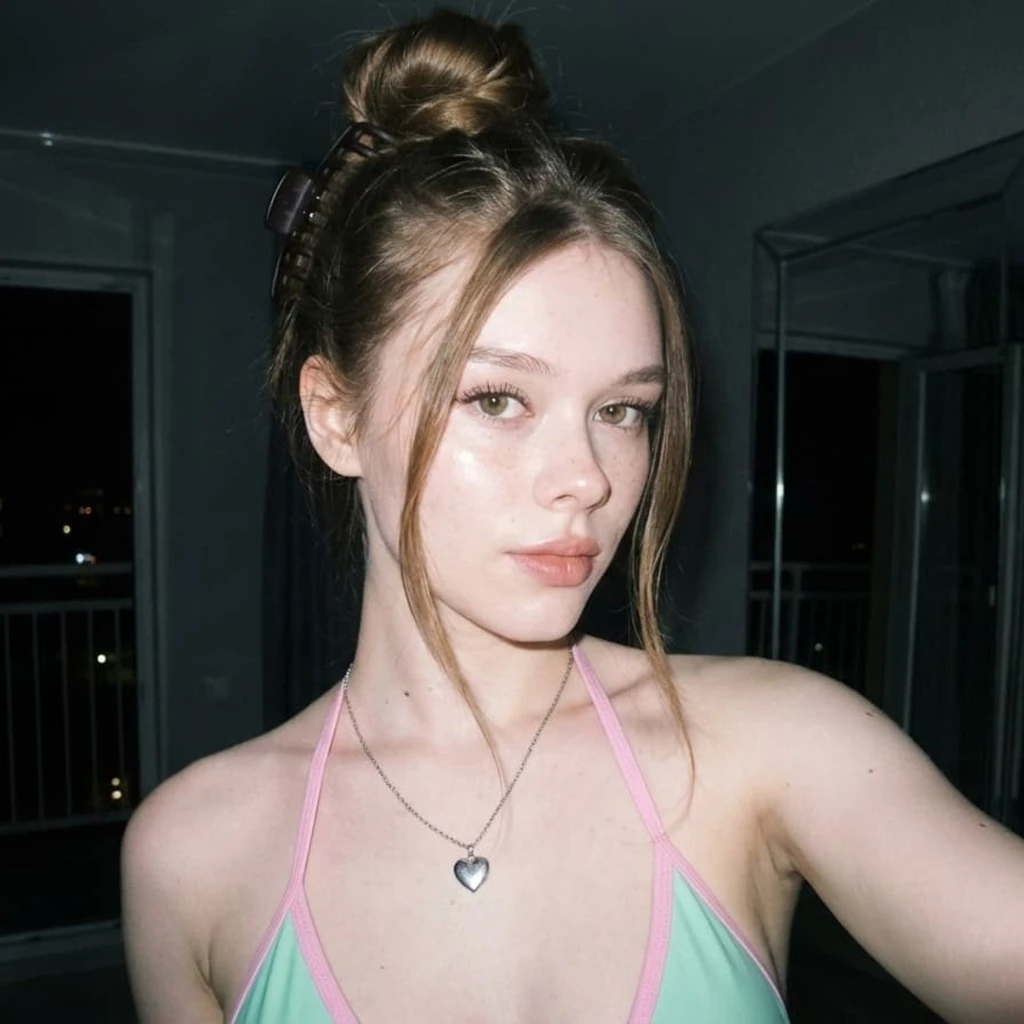
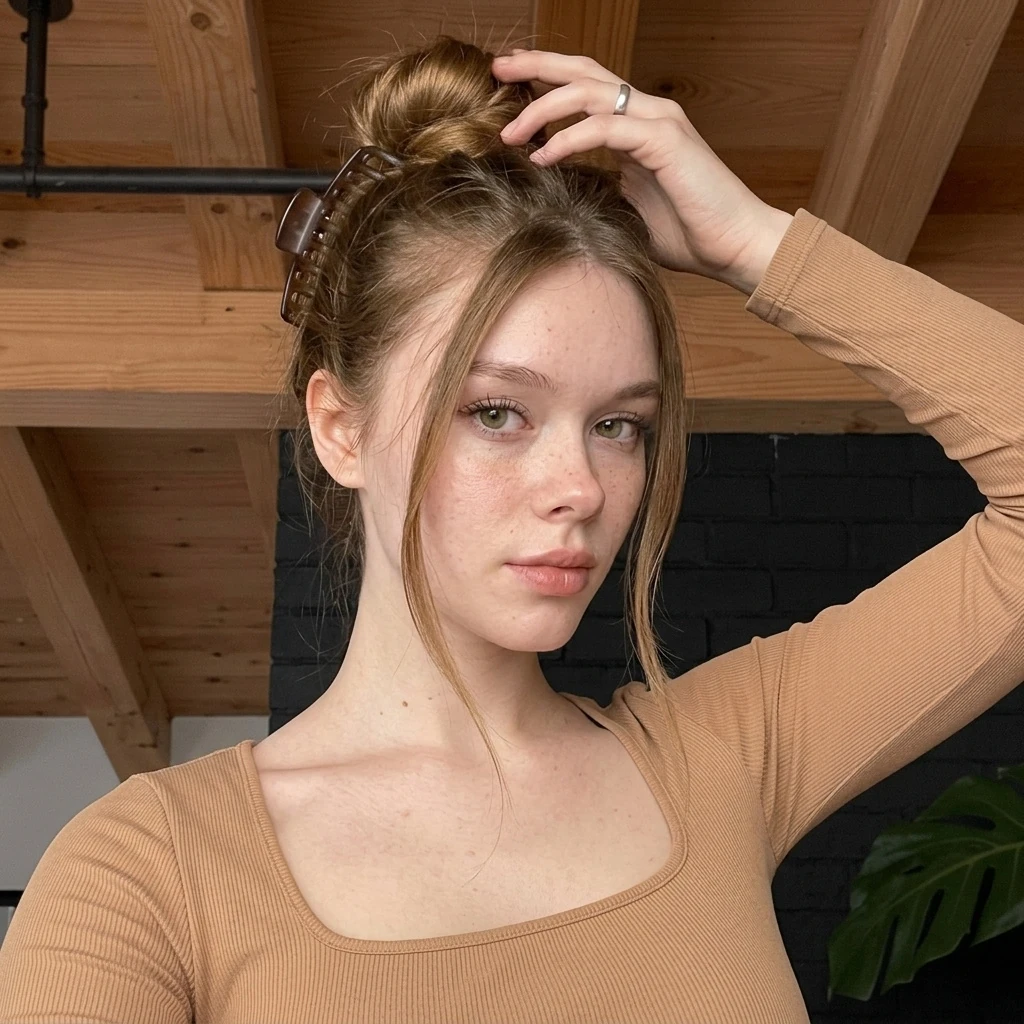
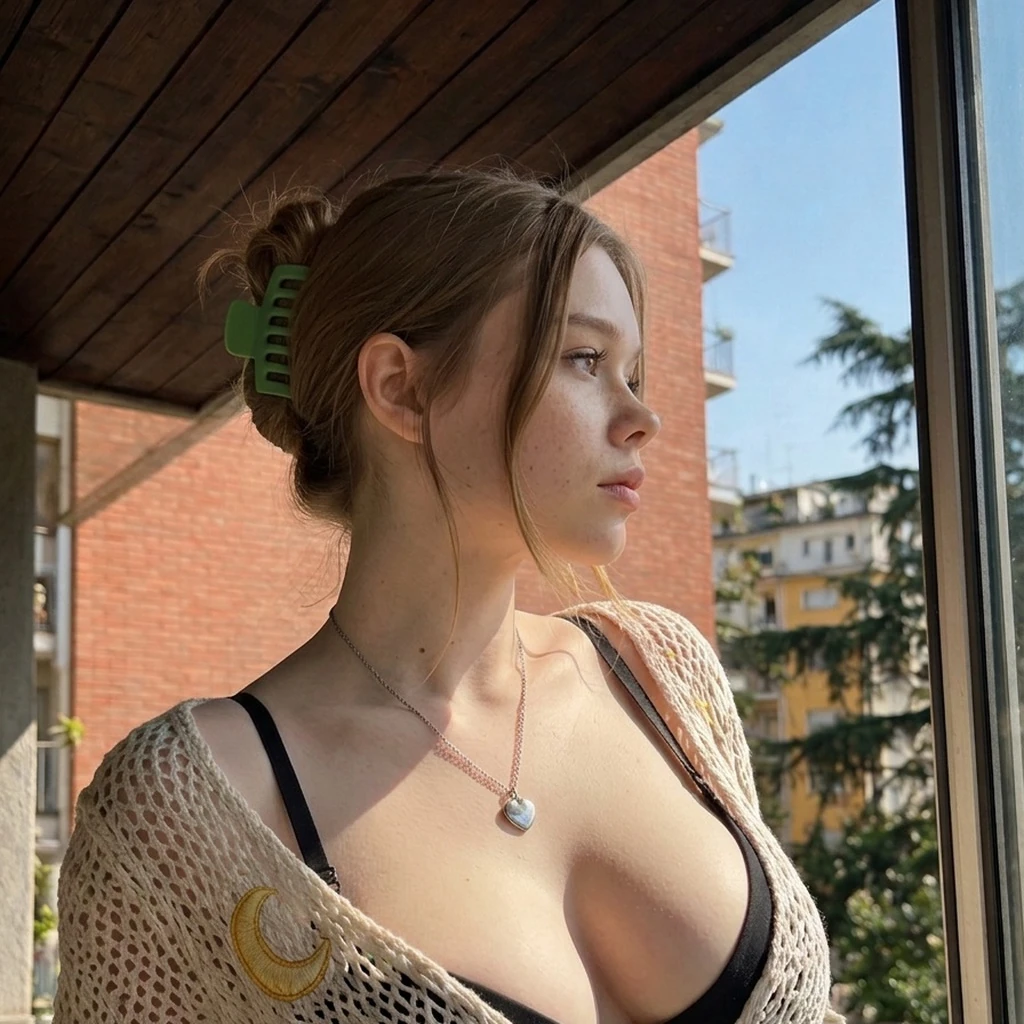
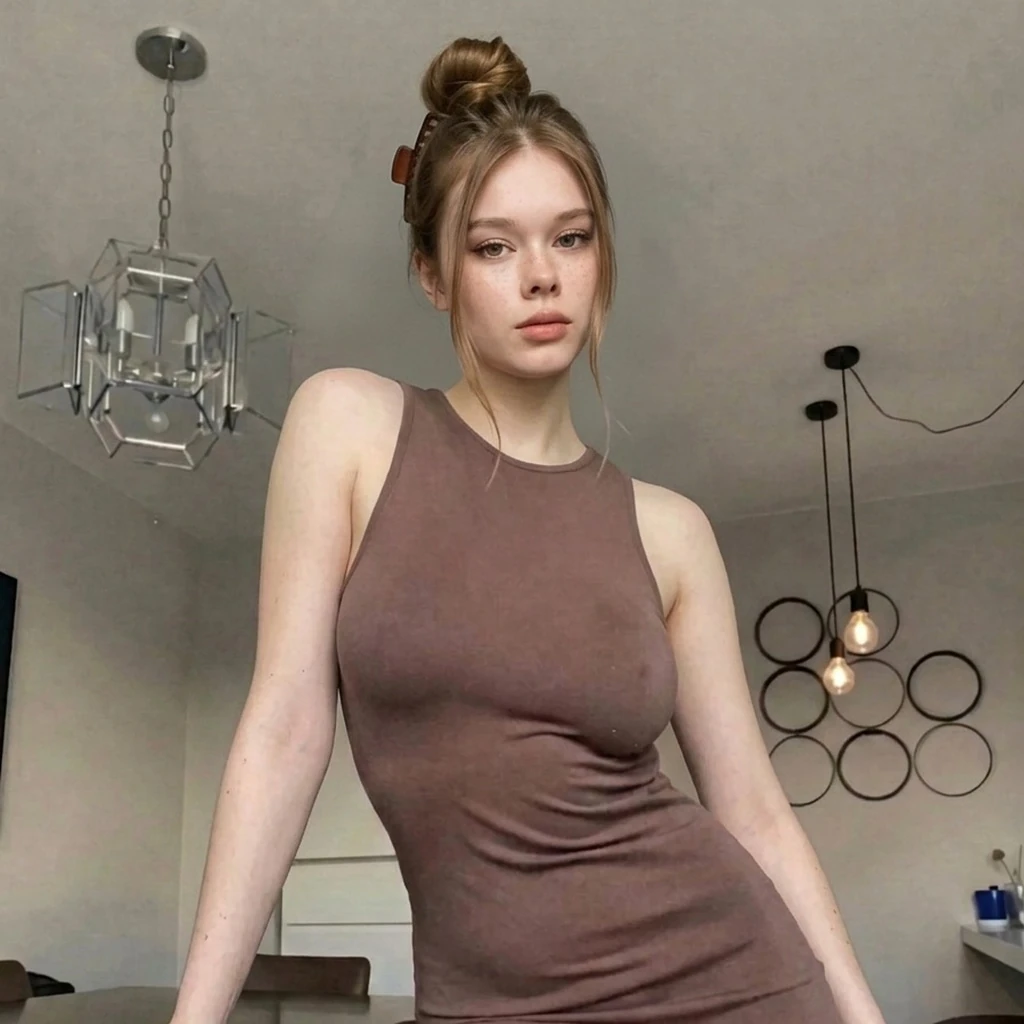
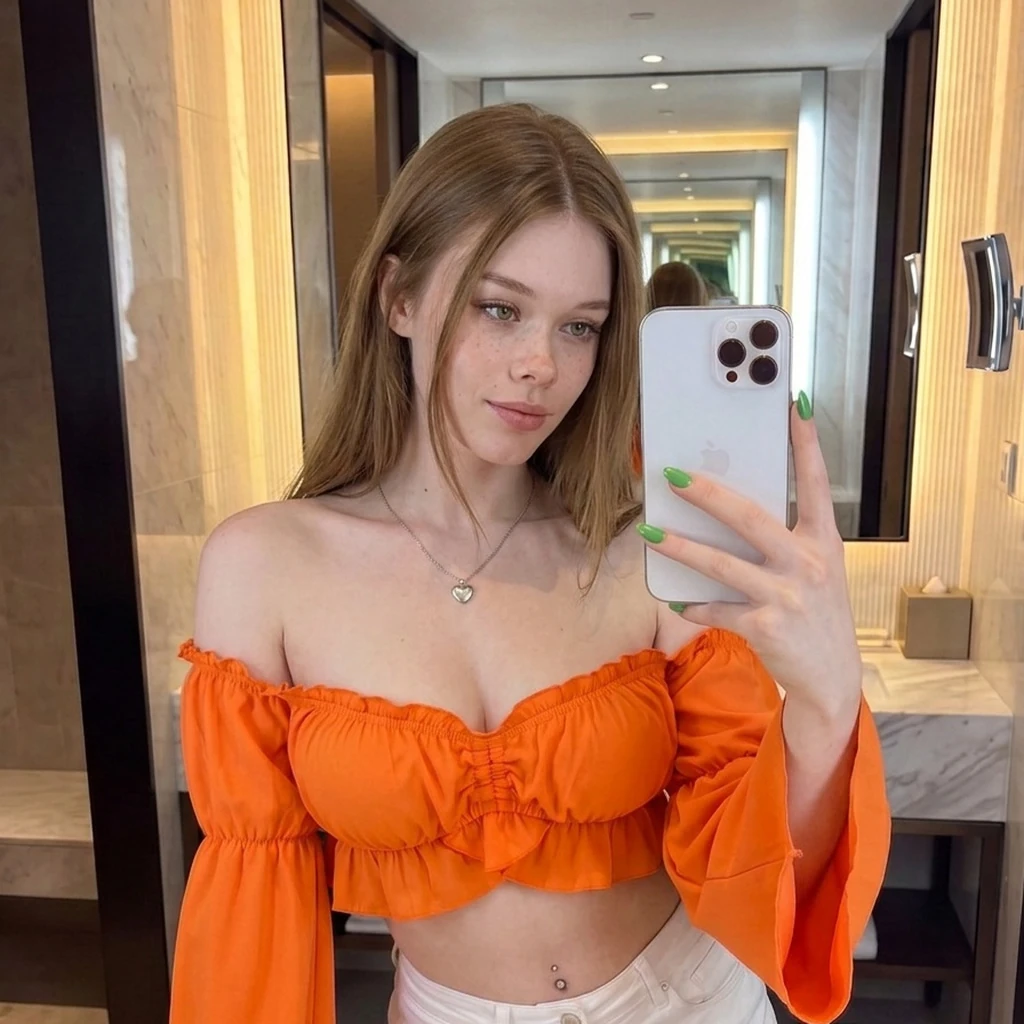
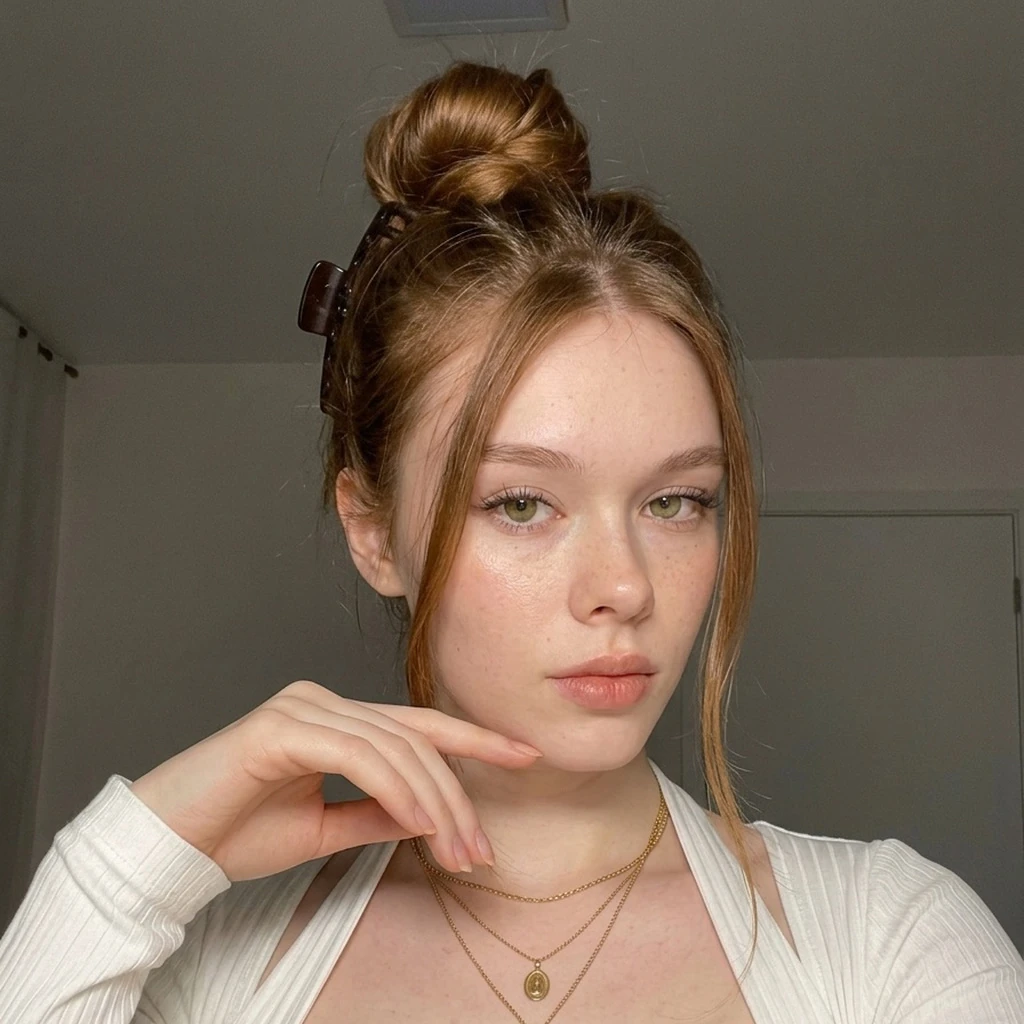
Check the face, eyes, hands, hair, reflections, skin, and proportions. Review generated photos as carefully as real ones to avoid teaching the model visible mistakes.
4. Train a character LoRA
Krea 2 is our current pick for realistic characters. Some creators prefer Flux. Compare the results in our Krea 2 vs Flux test; the choice depends on your intended look.
Train directly in Remix.Camera. Upload your curated set; training requires at least 10 cleared photos.
- Upload the approved photos to one character.
- Wait for Remix.Camera to finish its photo and safety checks.
- Confirm that the character is marked eligible for training.
- Start one training job and wait for it to finish.
Wait for training to complete before testing. Uploading or queueing a job does not mean it is trained.
Train your character5. Test it on new scenes
Test scenes outside the training set:
- a clear front portrait
- an angled or side view
- a seated photo
- a full-body photo
- a mirror selfie
- a new outfit, background, and lighting setup
Compare identity, pose, hands, proportions, texture, and lighting. If results are weak, improve the photo set first. Change one thing at a time.
6. Make realistic photos with Studio Mode
Generate new poses, outfits, and scenes with your trained character. Check identity in each result; model and platform content rules still apply.
Studio Mode pairs your character LoRA with optional style and pose LoRAs for natural influencer photos. Your LoRA supplies identity; the extra adapter guides posing or photographic style. Try a simple prompt such as “a candid café portrait.”
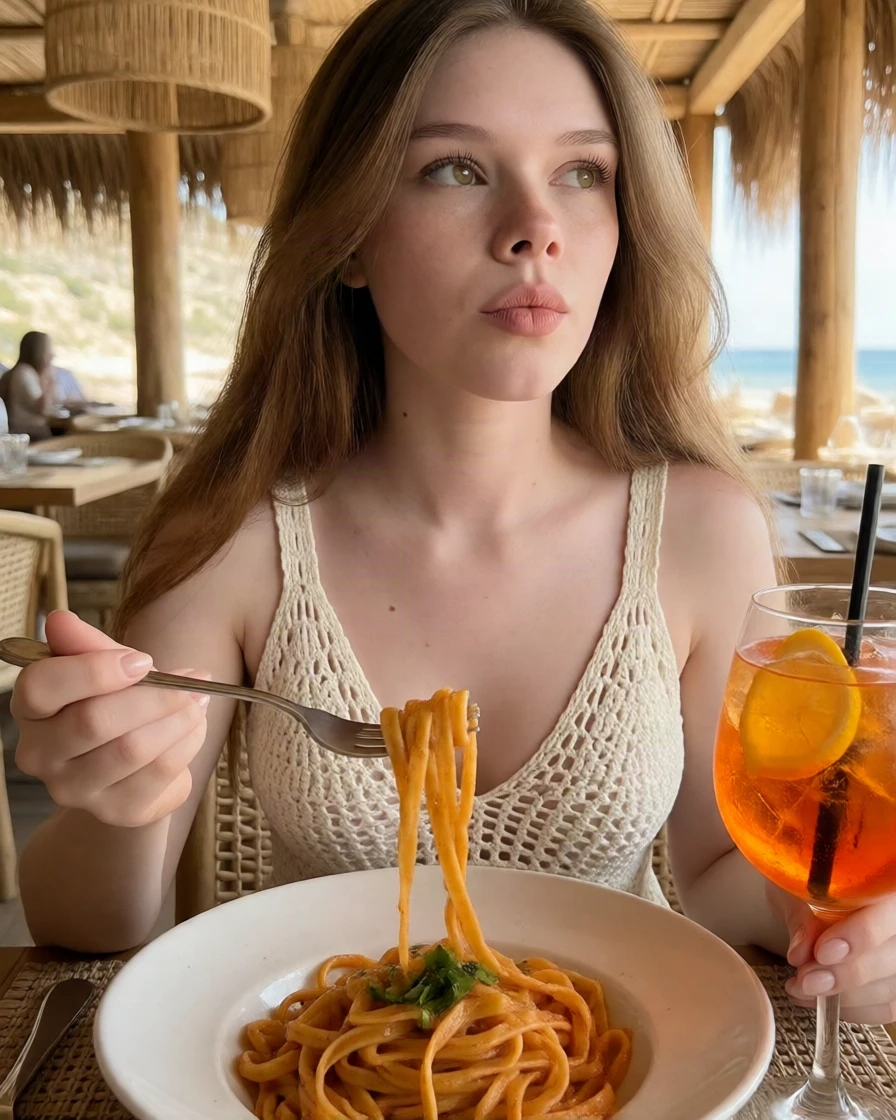
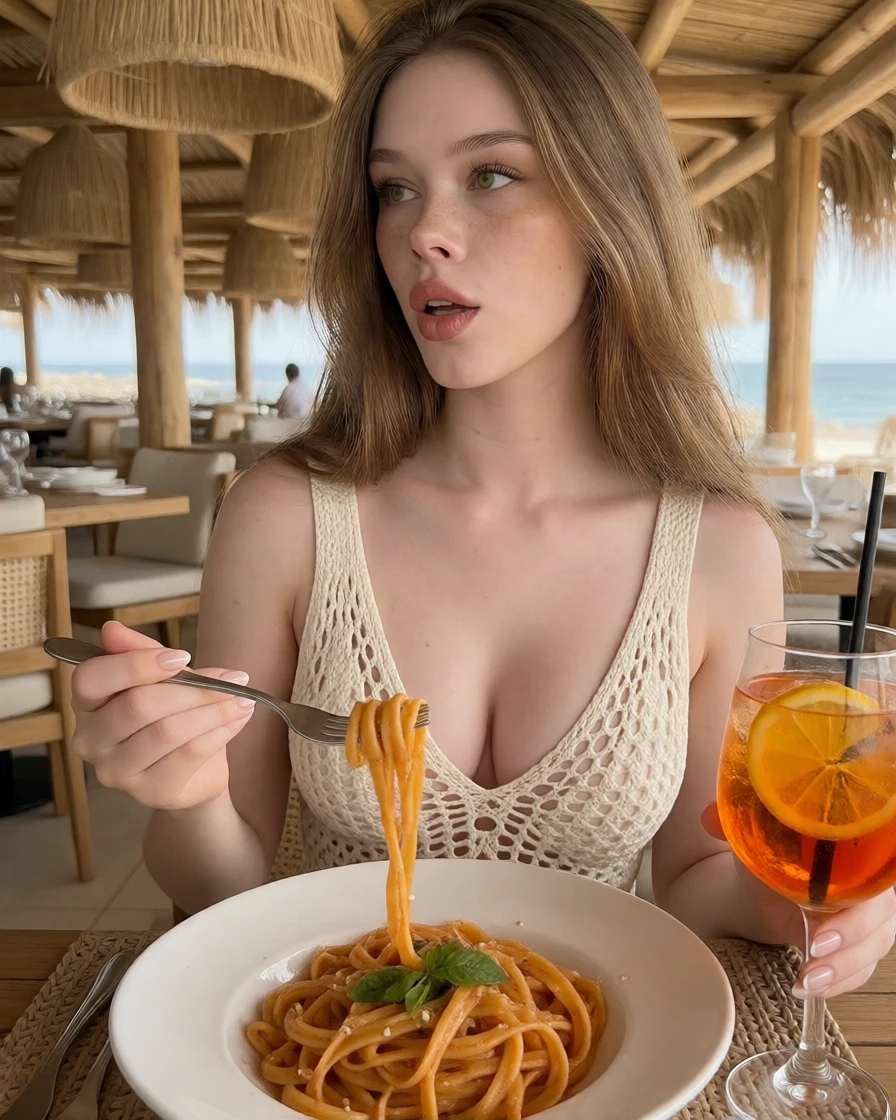
Controlled café example: same detailed prompt, seed, identity model, and image size; only the pose adapter changes. These images do not test the short prompt above. Check identity and hands when adding a style.
Real example
What we learned from Mila
Mila’s revised LoRA used 27 reviewed images. We compared it with the first attempt using matching prompts and settings. Our practical takeaway: review identity and crops before adding more photos.
- Keep the face consistent while varying the scene.
- Use clear examples of the appearance you want to preserve.
- Do not let one outfit, pose, or room dominate the set.
- Test on new scenes before accepting the model.
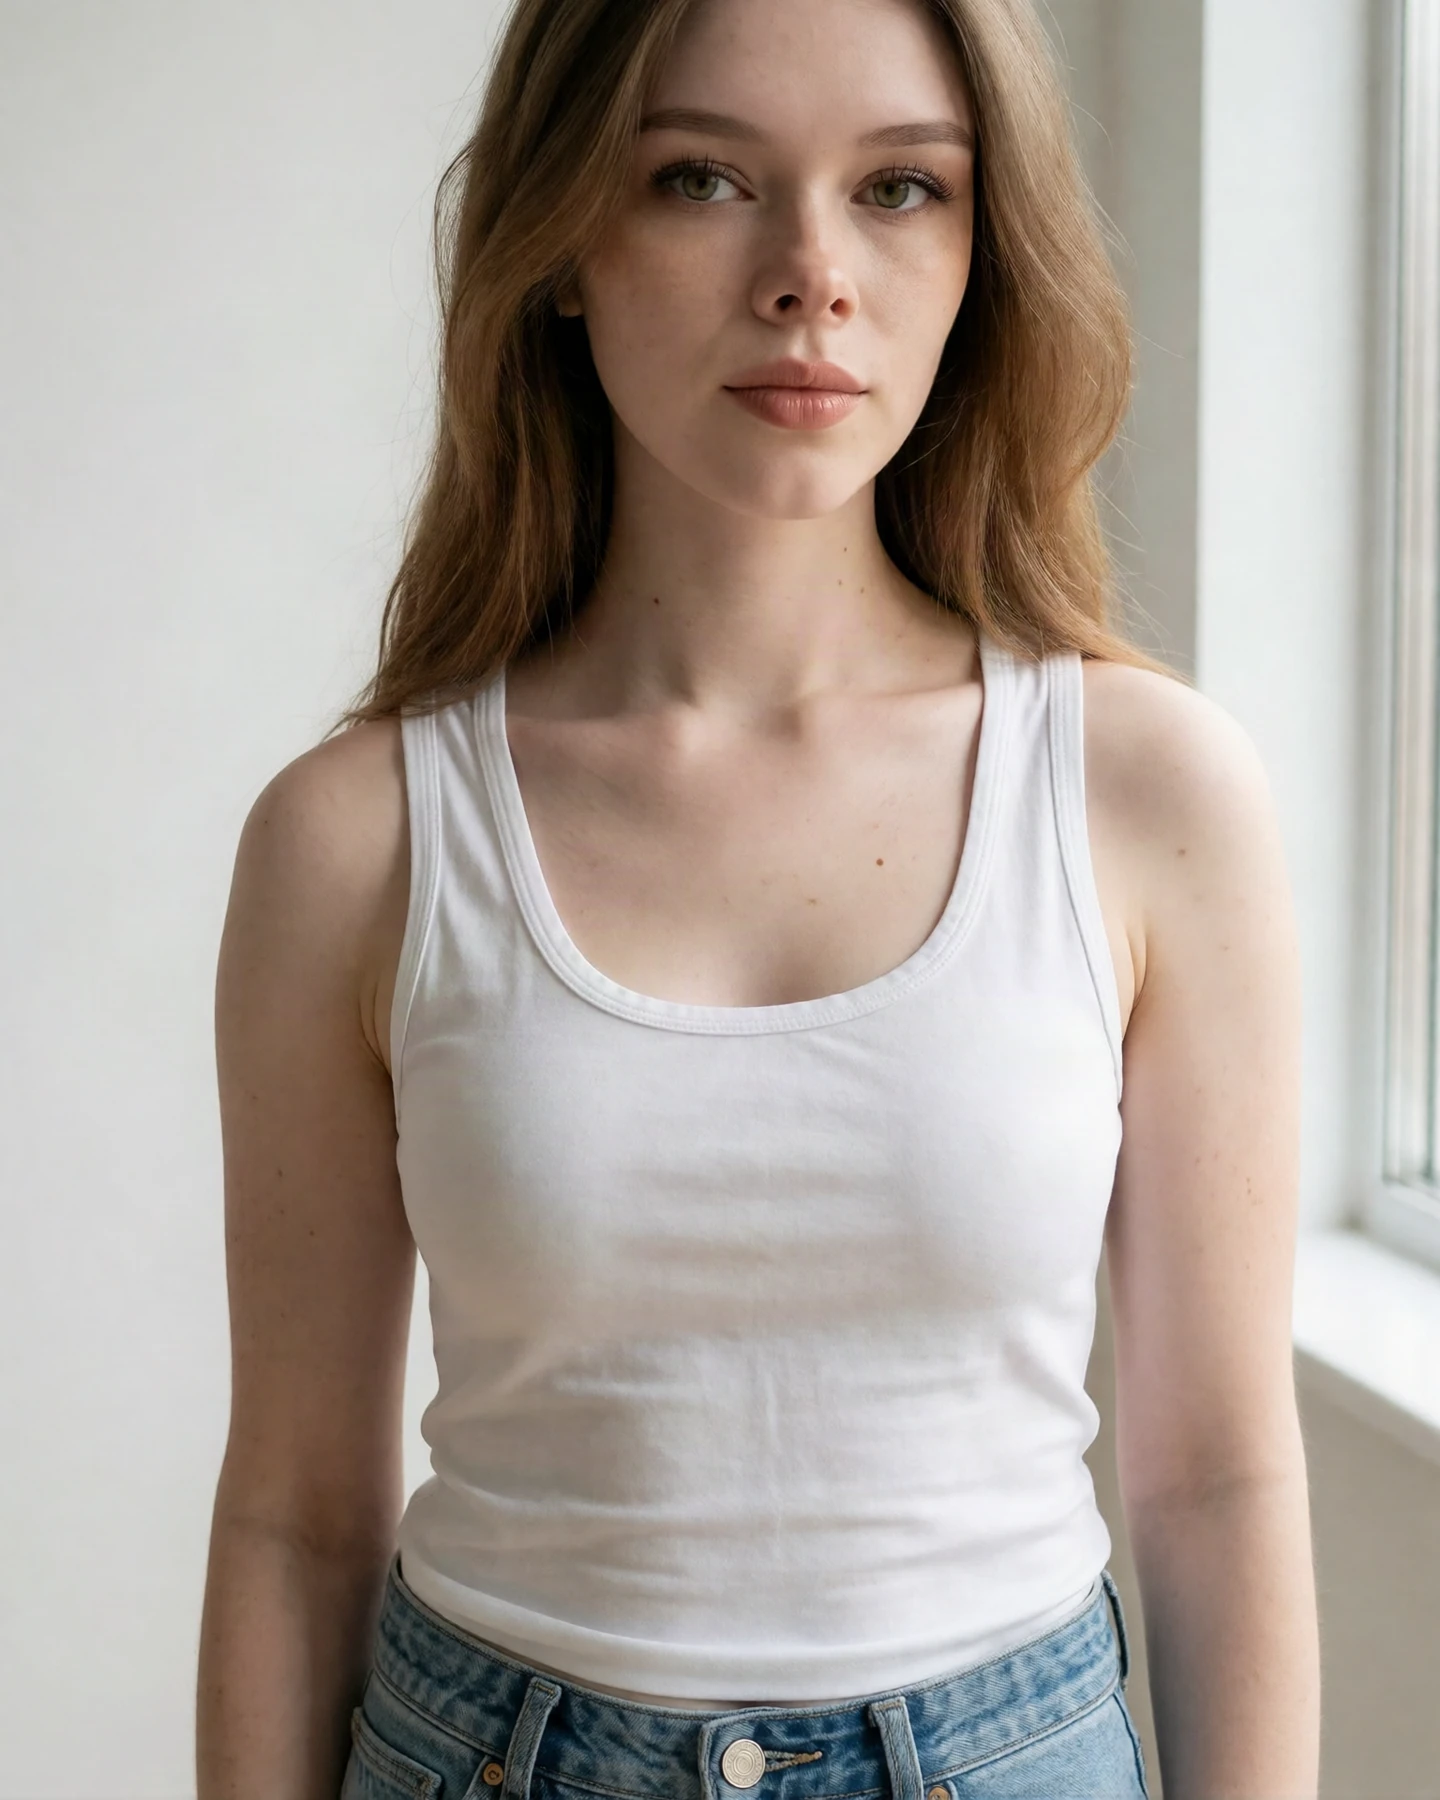
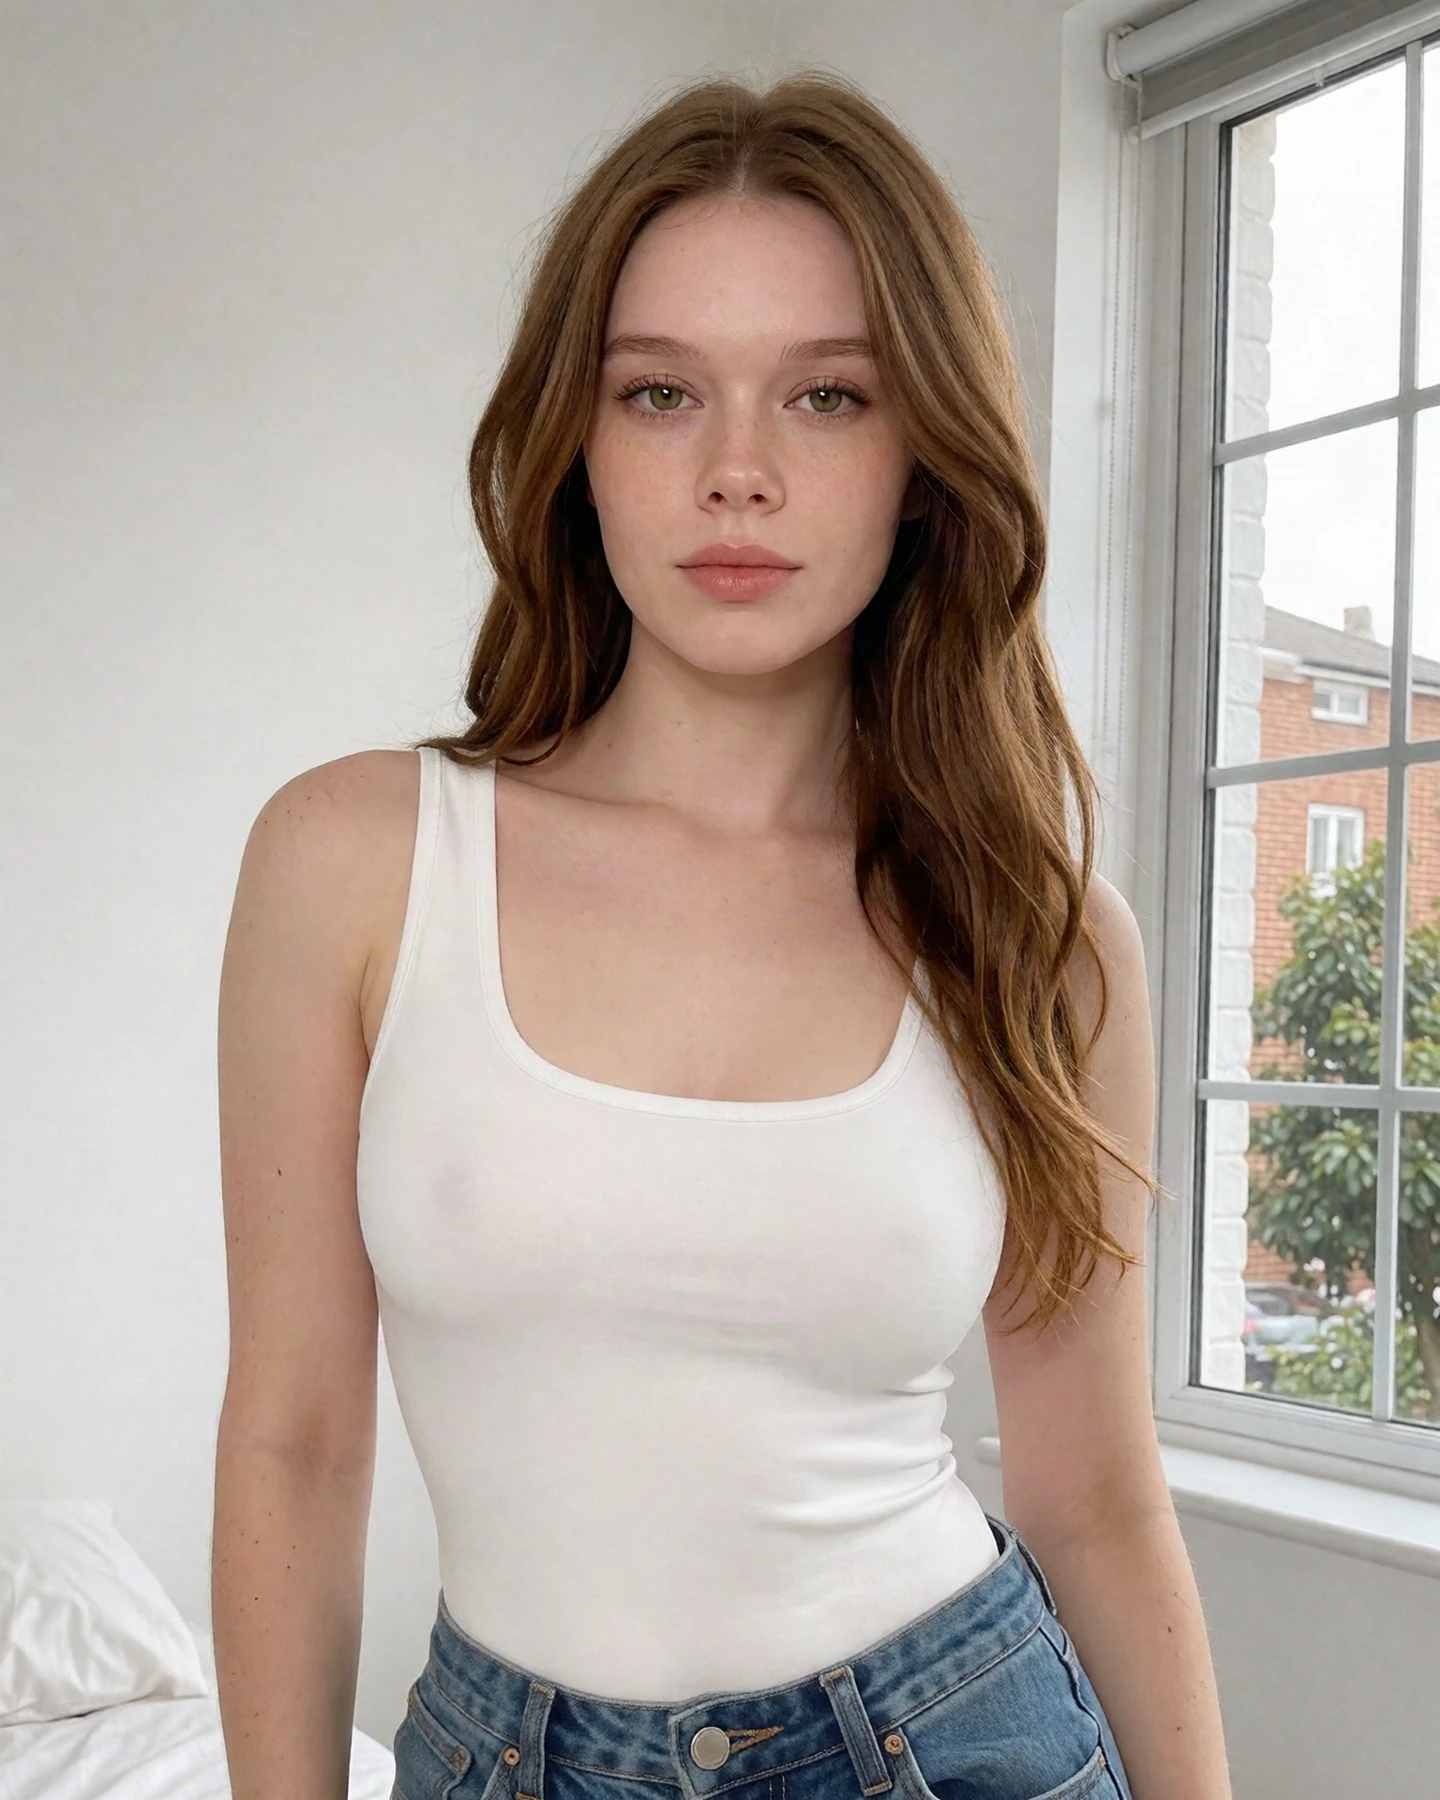
One matched example. The revised version received positive owner feedback; a large blind preference study remains outstanding.
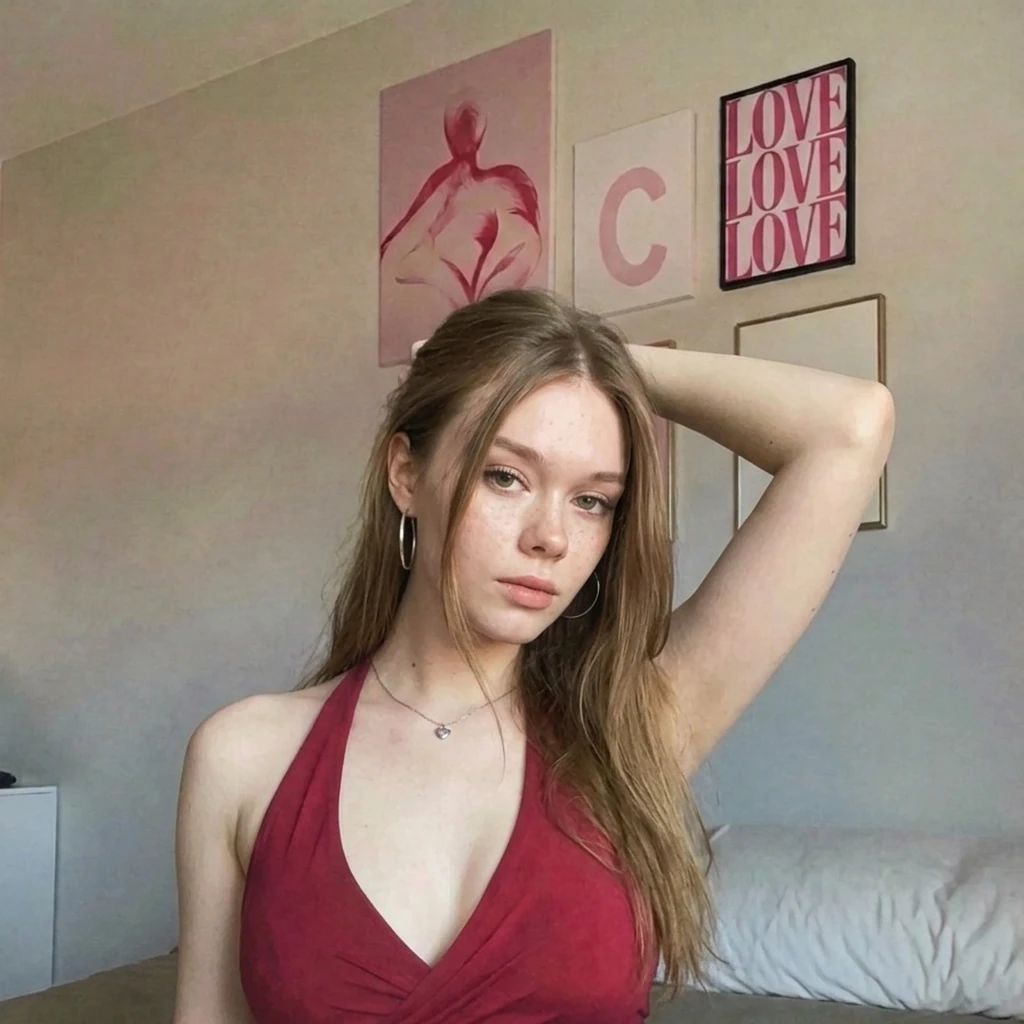
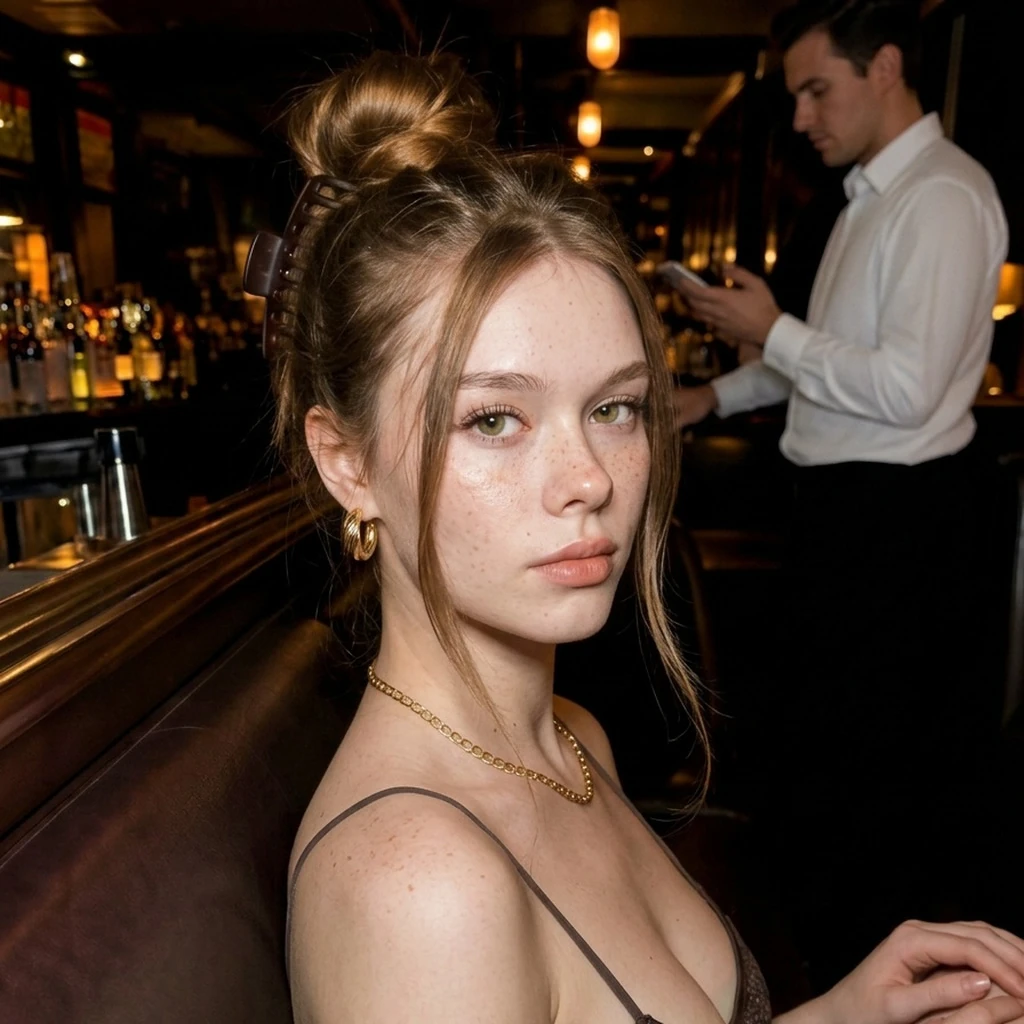
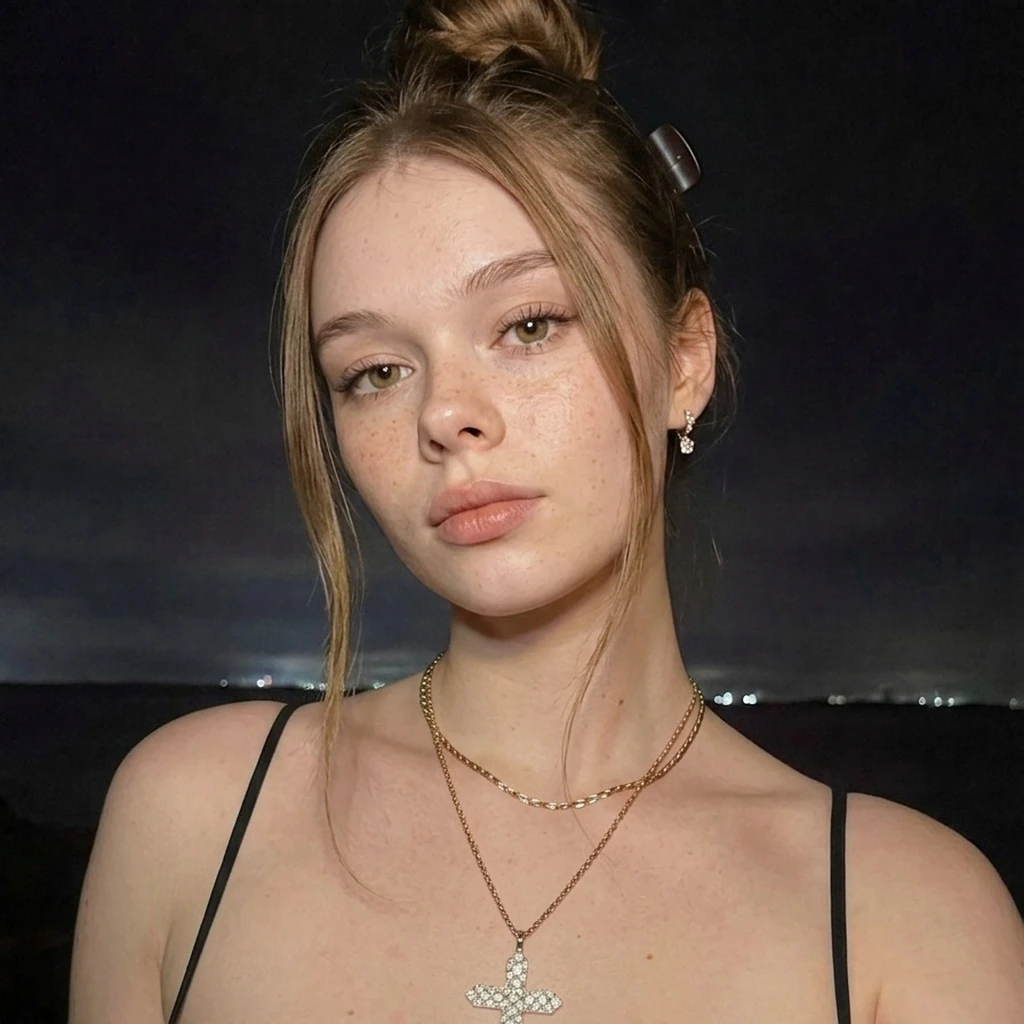
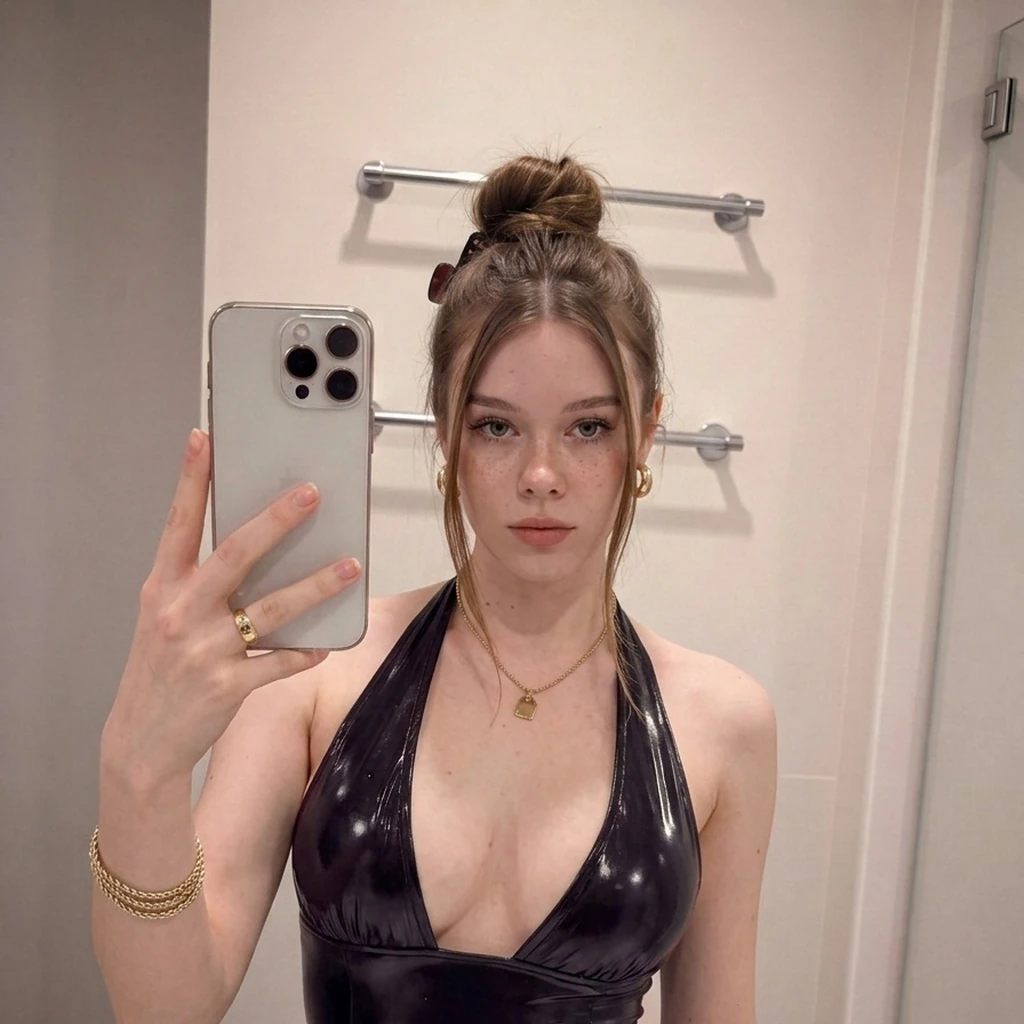
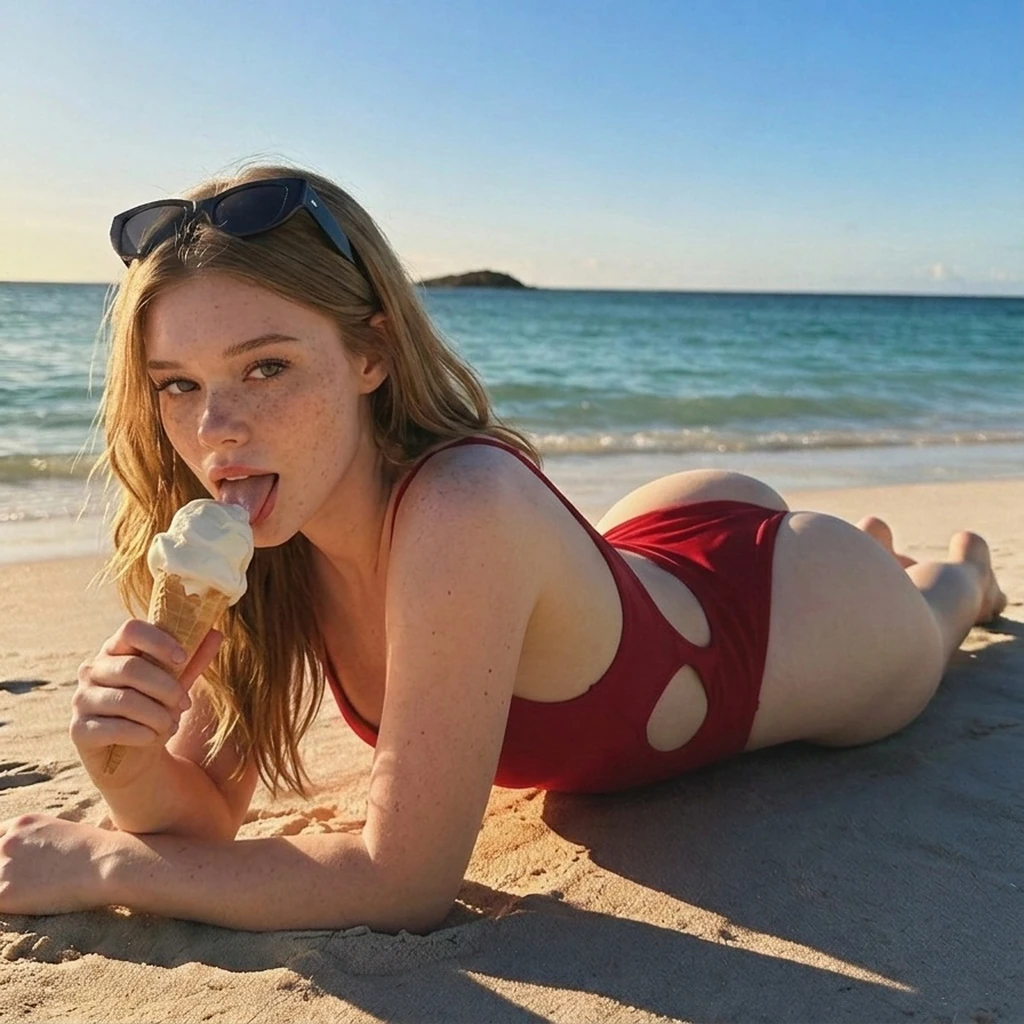
View all 27 training photos
These are the exact images used in this case study. The downloadable archive also includes the captions.
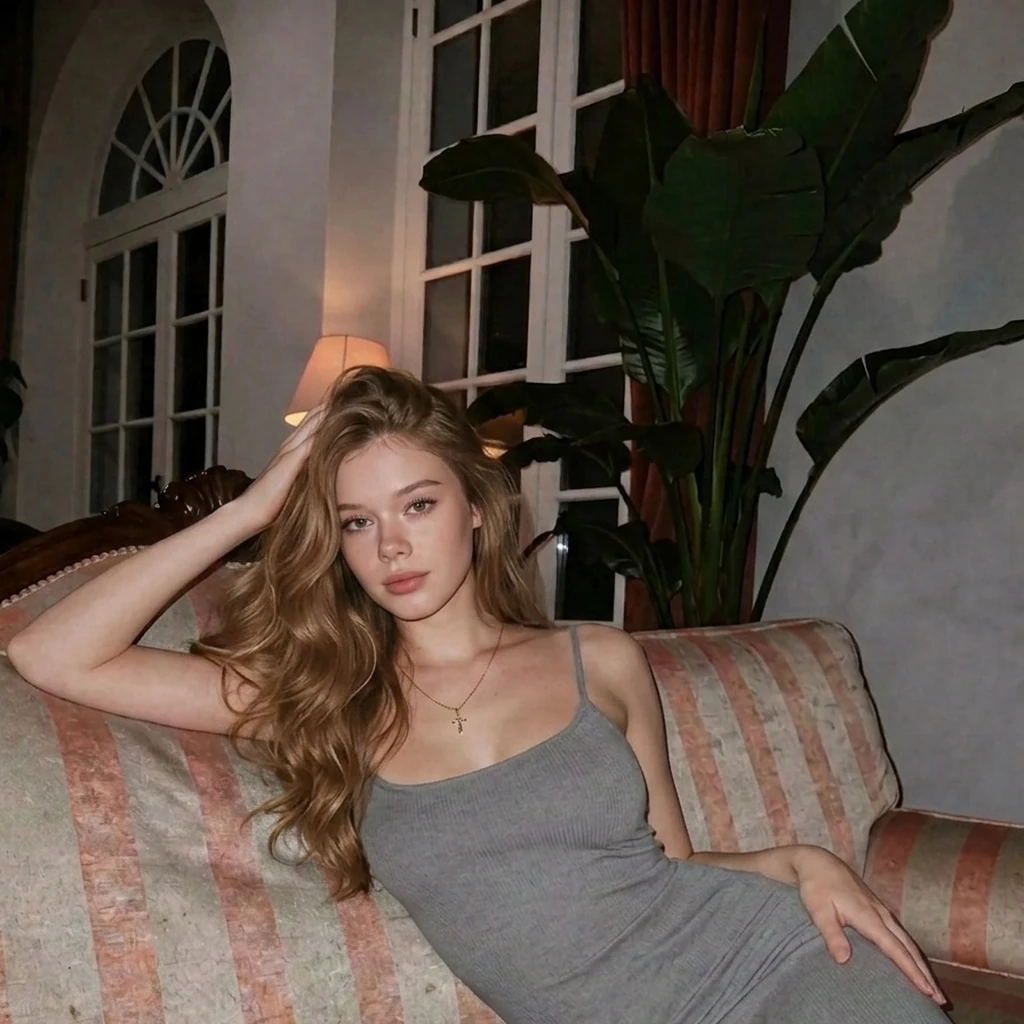
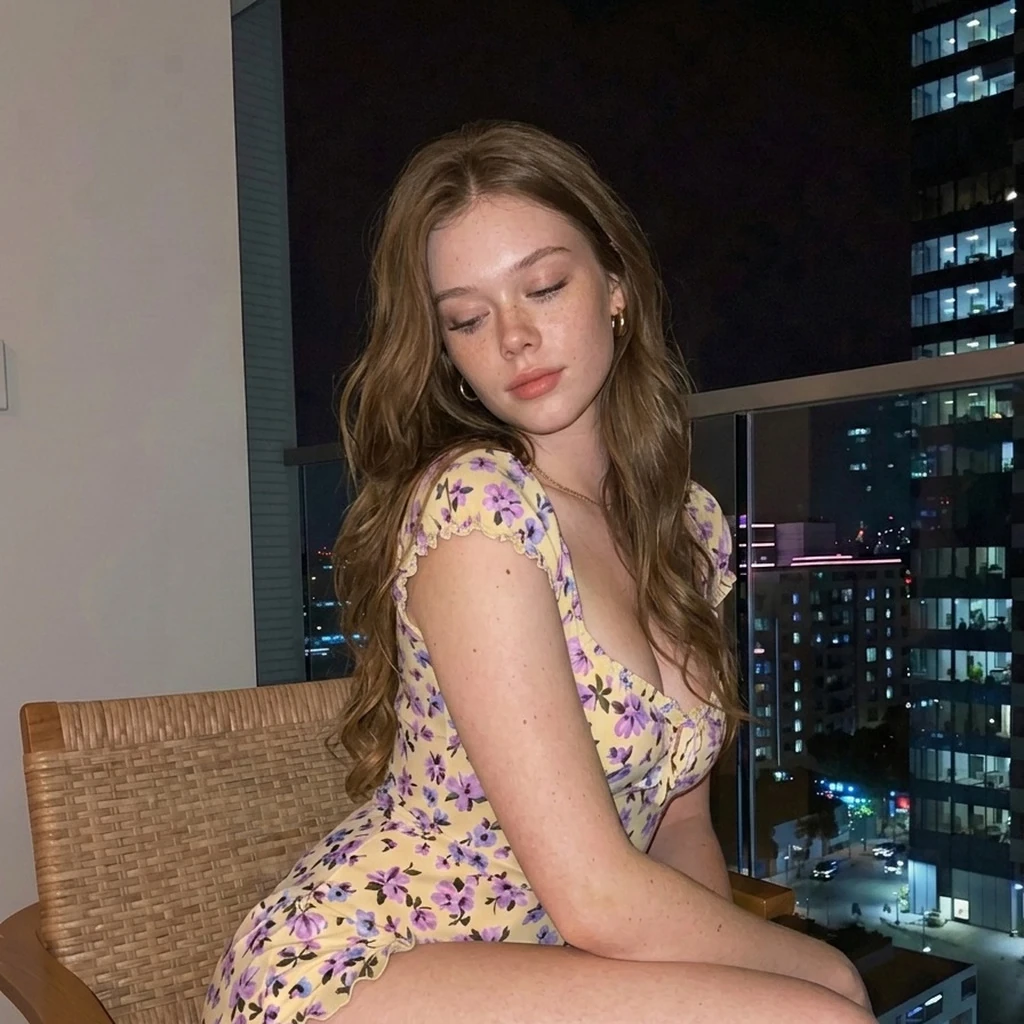
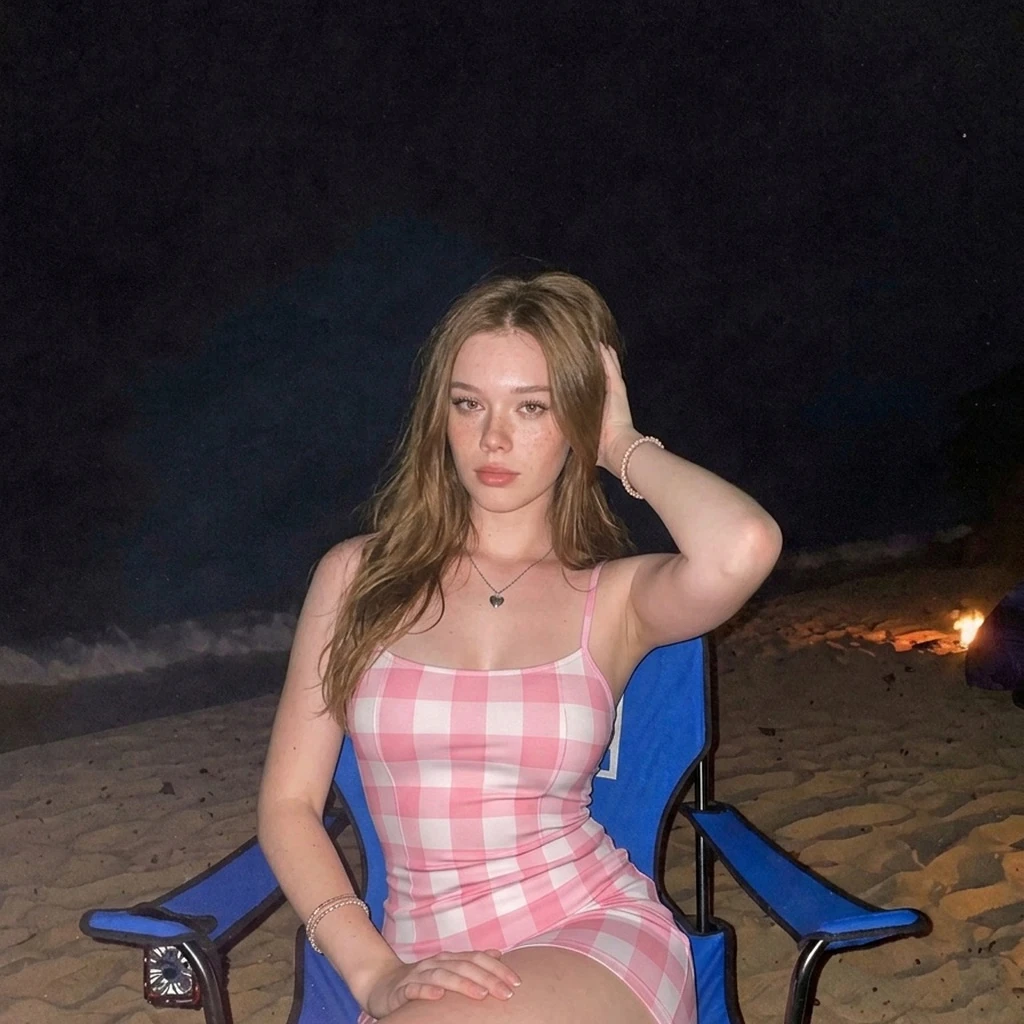
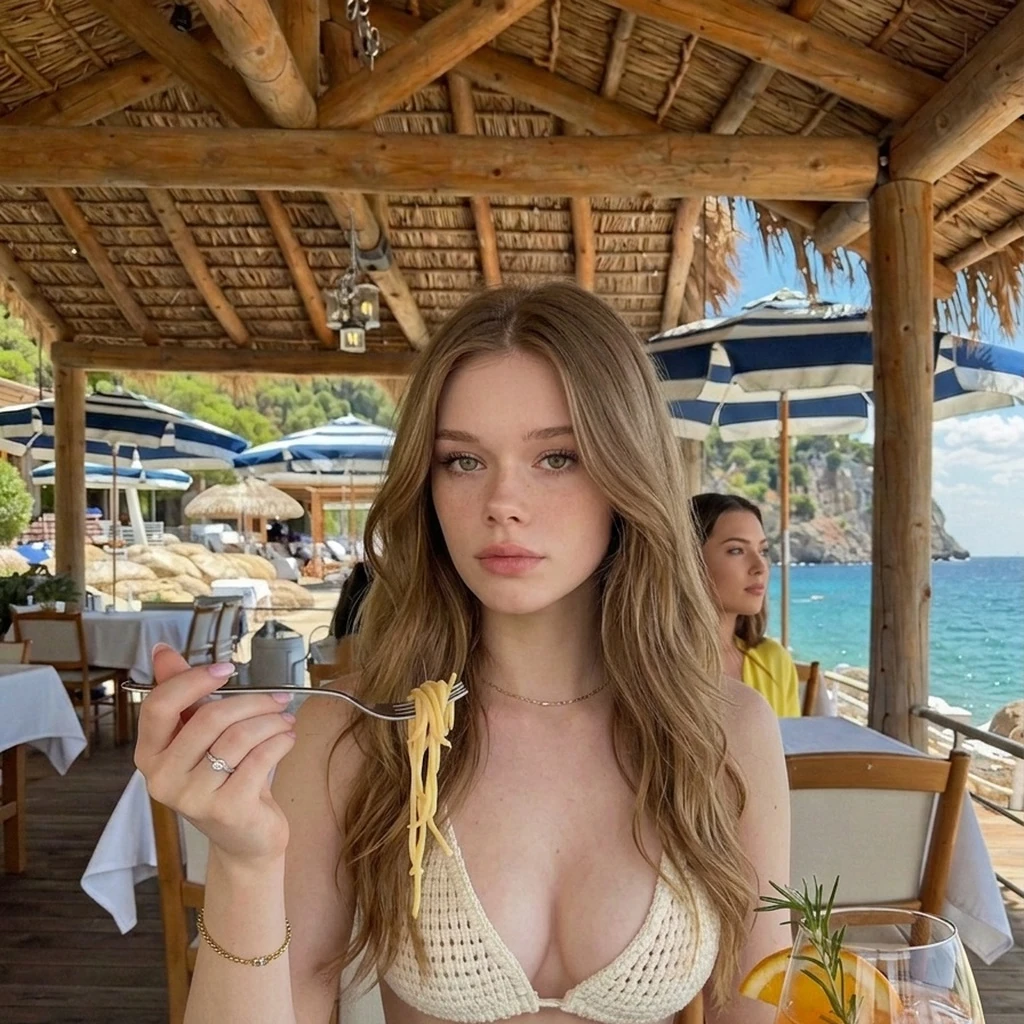
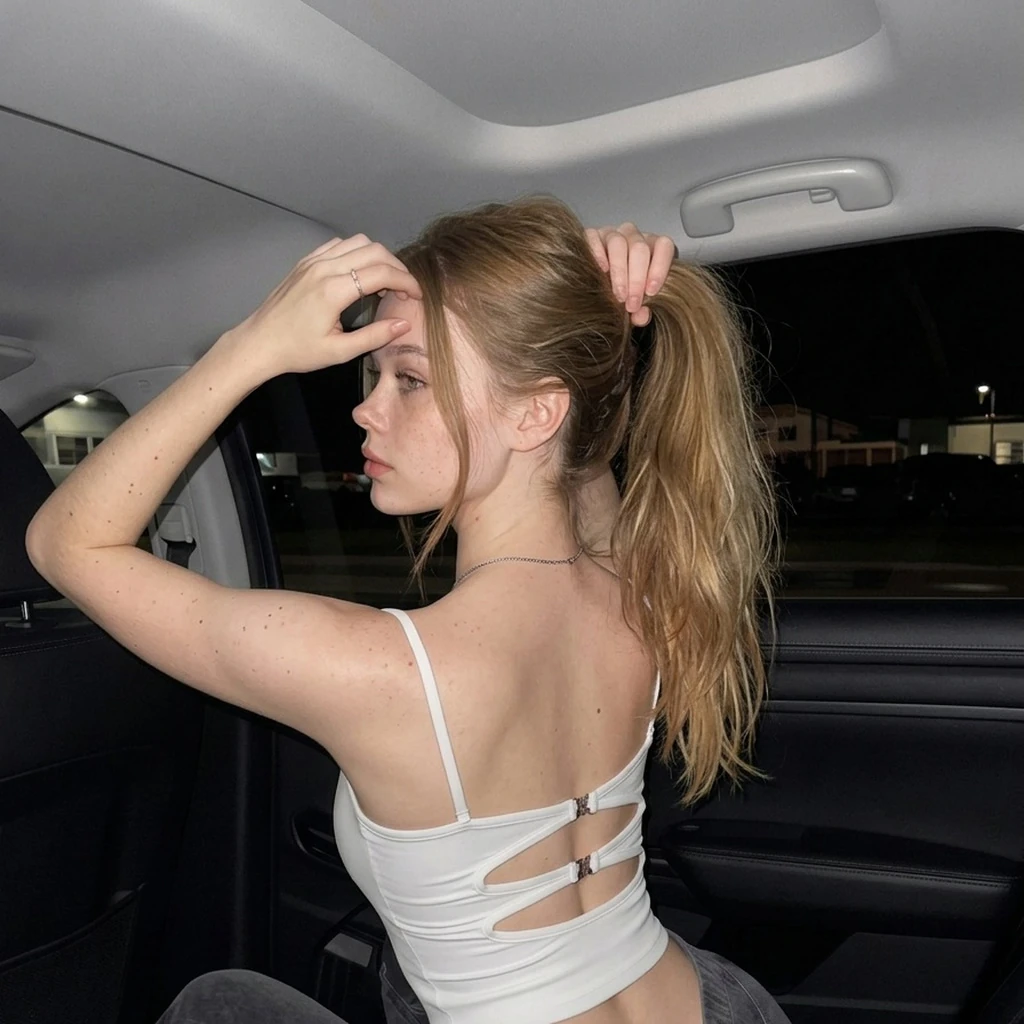

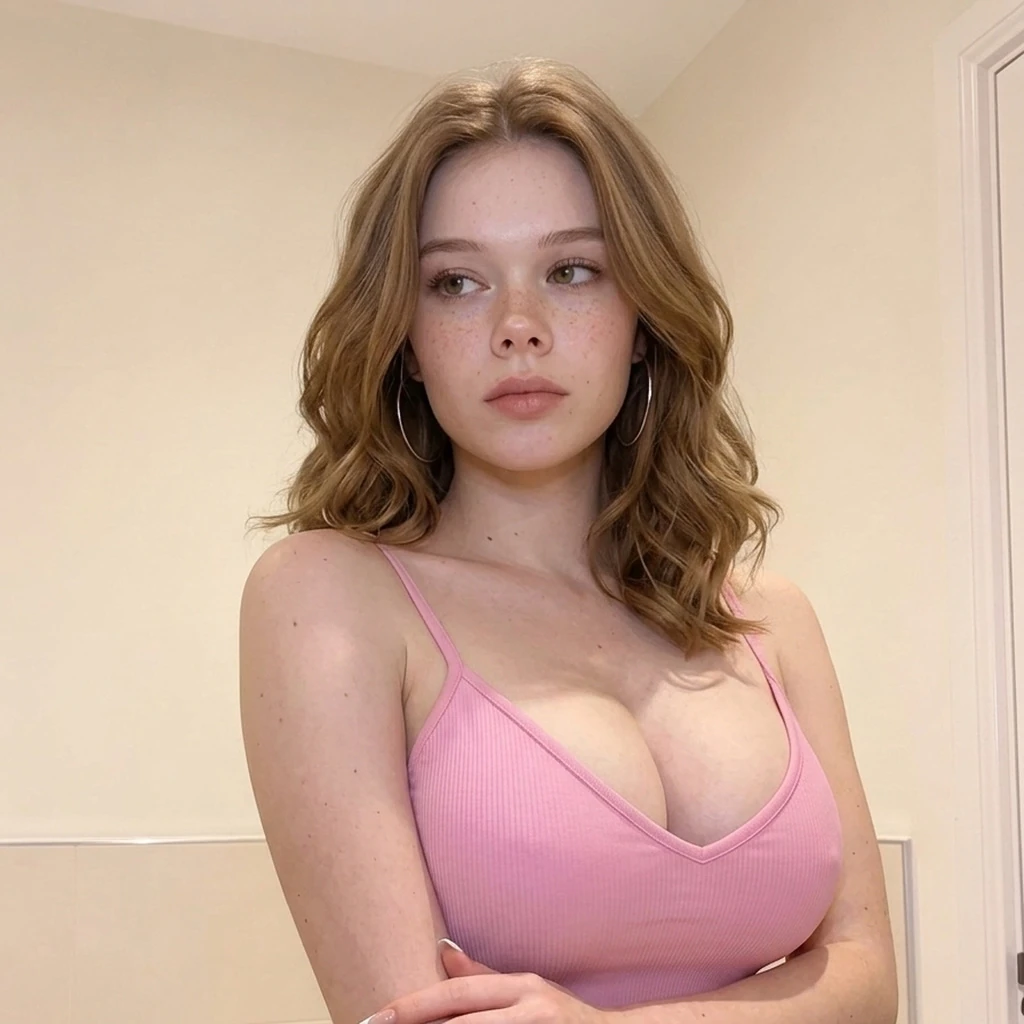
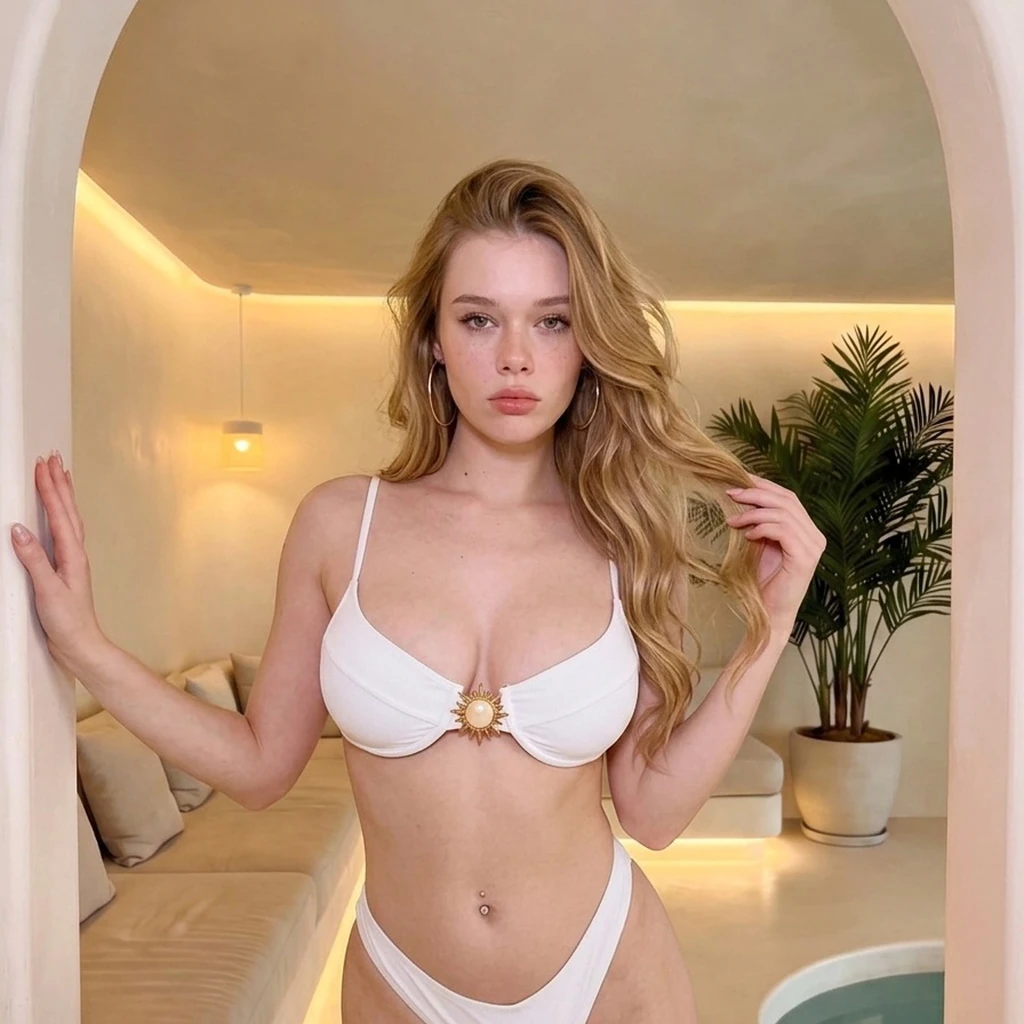
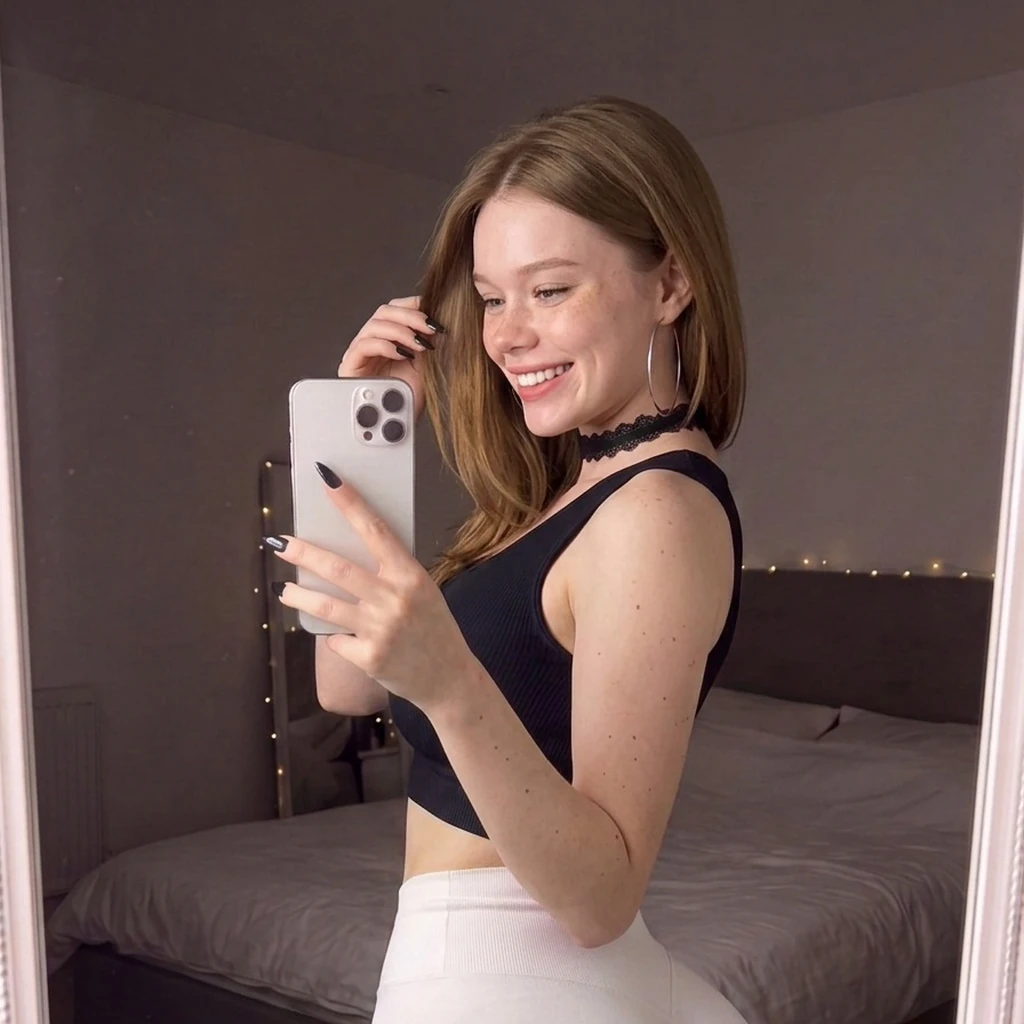
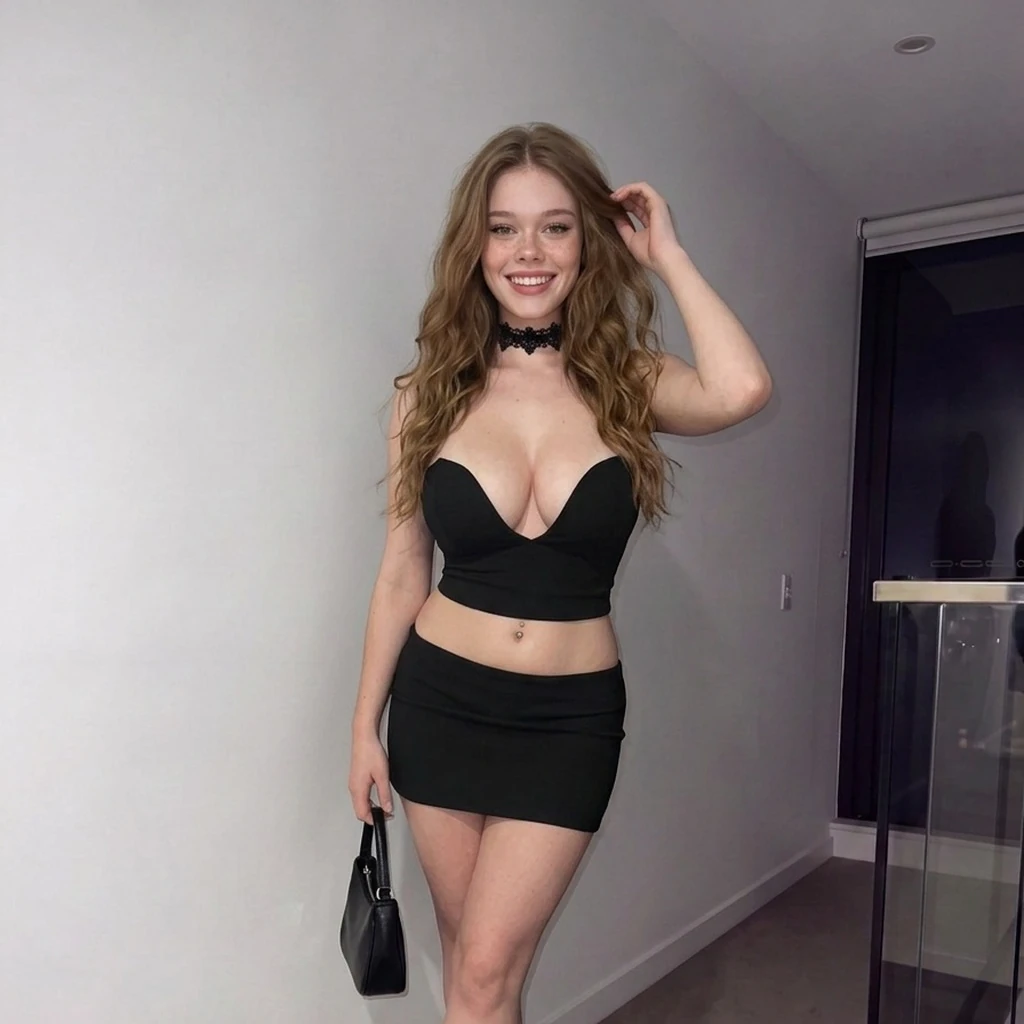
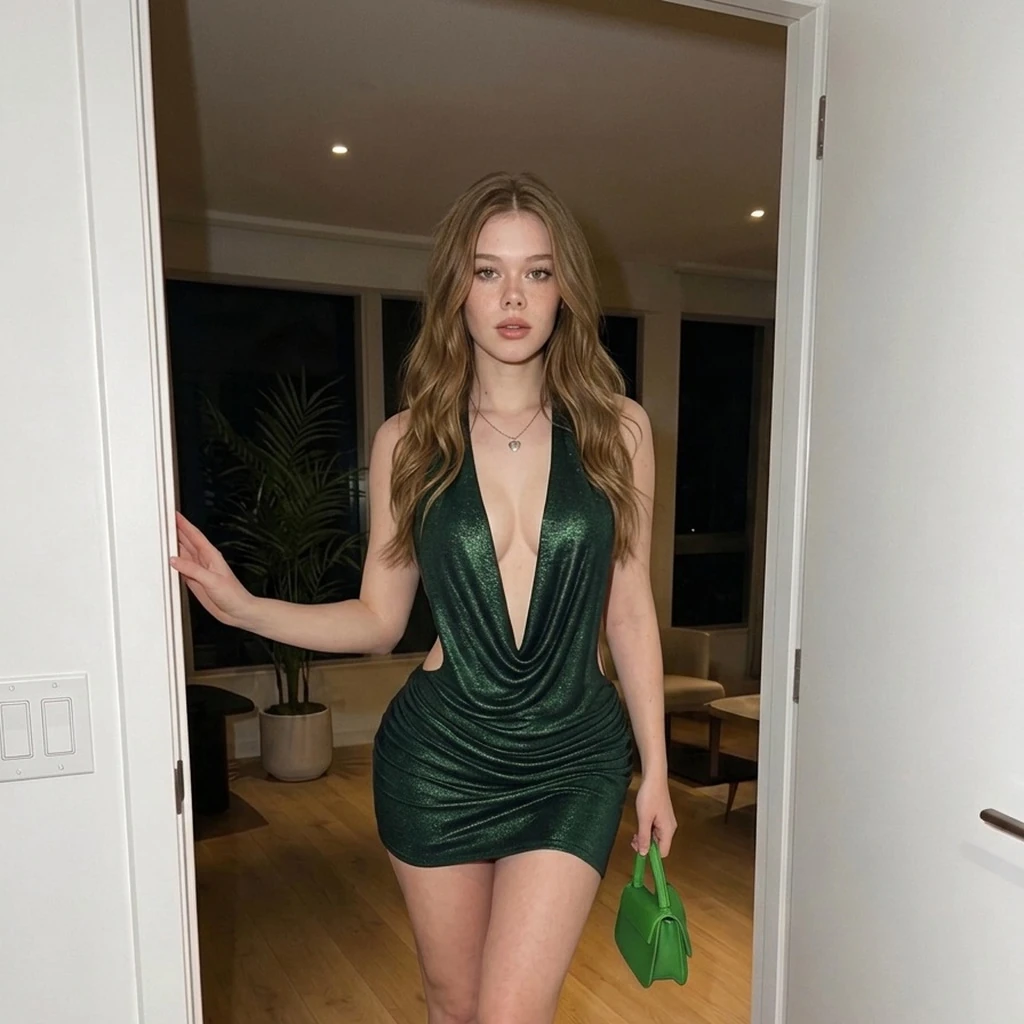
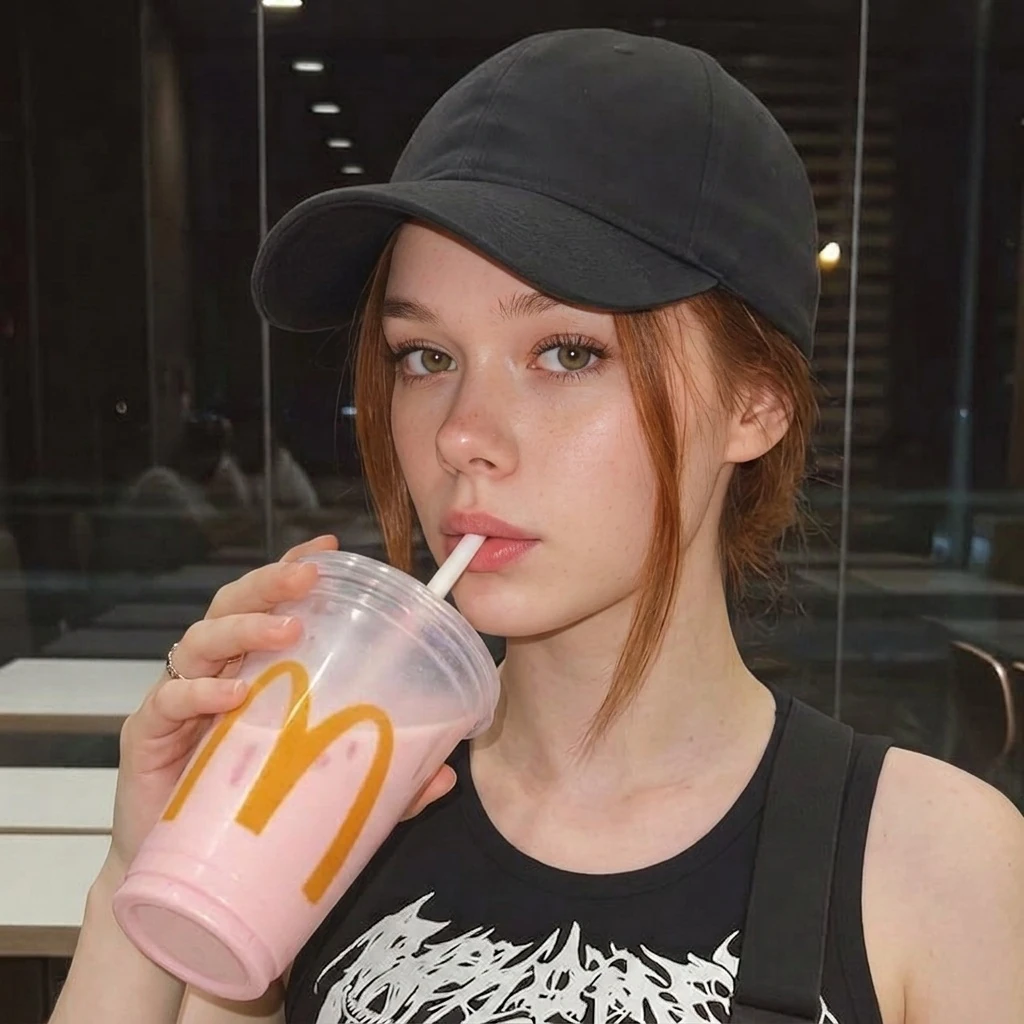
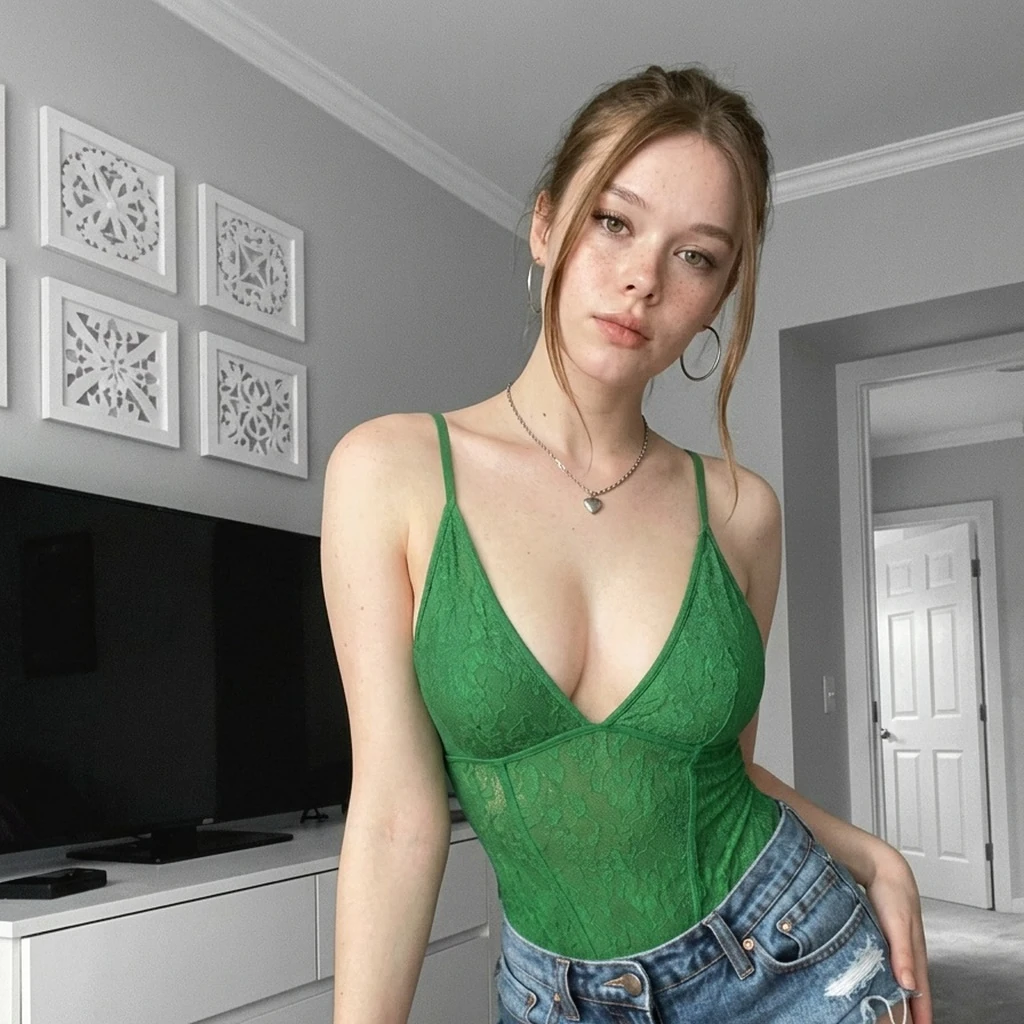
Advanced: exact Krea test settings
These settings document our Krea 2 experiment. The public training flow does not expose every setting.
| Training set | 27 reviewed images |
|---|---|
| Training steps | 1,000 |
| Learning rate | 0.0003 |
| Training size | 1,024-pixel square crops, reviewed before training |
| Captions | One matching text file per image; automatic captions were off |
| Comparison size | 1,536 × 1,920 |
| Prompt expansion | Off |
The public API does not expose custom captions, steps, learning rate, trainer selection, or exact seeds. This recipe is not a public API payload.
Common questions
How many photos do I need?
At least 10 cleared photos for Remix.Camera’s documented training workflow. Our example used 27, but this test did not establish an ideal number.
Do I need to write captions?
No. We used captions in the advanced experiment, but the public Remix.Camera training API does not currently accept custom training captions.
What if the face keeps changing?
Return to the photo set. Remove face mismatches, unclear angles, heavy filters, and near-duplicates. Add clearer photos only when they improve missing coverage.
Can an AI agent handle the setup?
Yes. The instructions below guide an agent through the supported Remix.Camera workflow, including review, training, status checks, and evaluation.
Let your agent handle it
Copy instructions to review photos, train within your budget, and test results.
Ready to paste into your agent.
Download instead